
Last updated September 20, 2026
Free on-site gate assessment - hinges, posts, and your LiftMaster or Nice gate operator checked before anything is quoted
The assessment is free and the quote is the invoice.
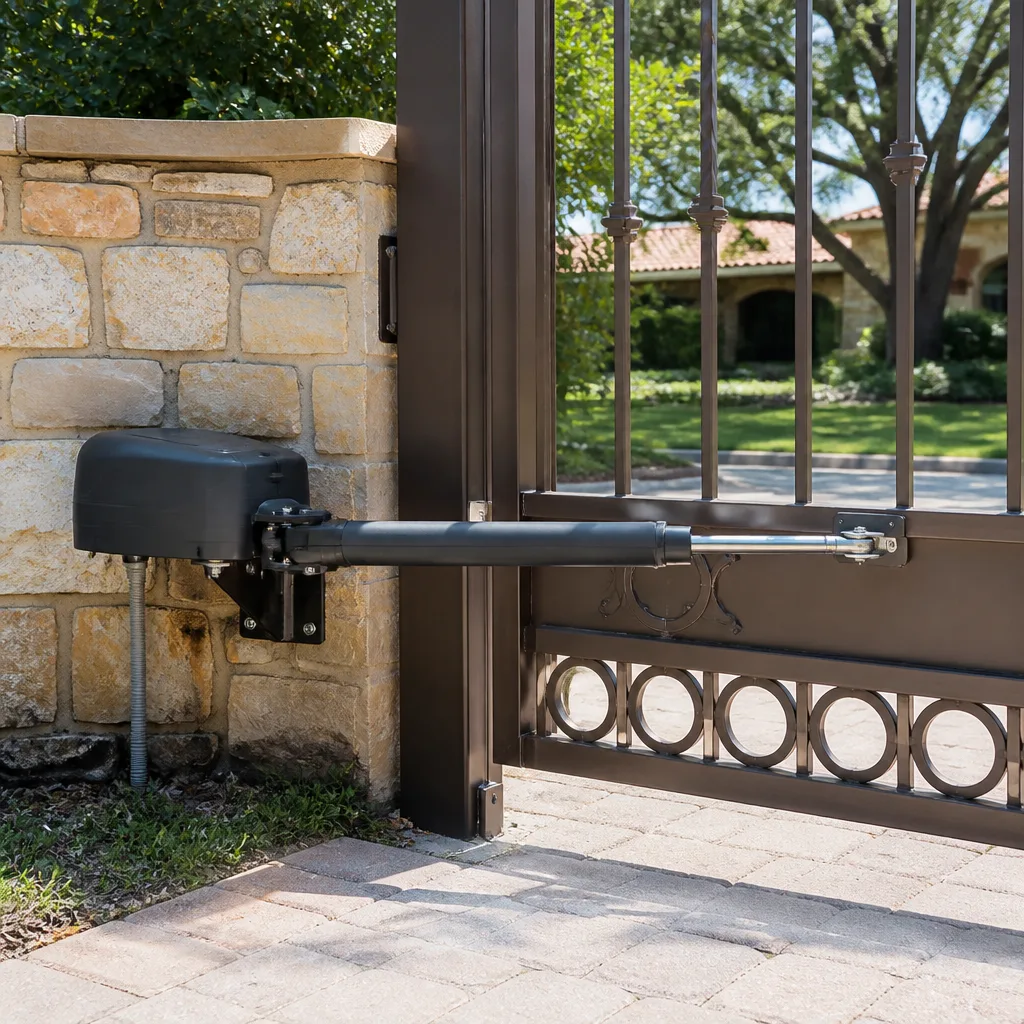
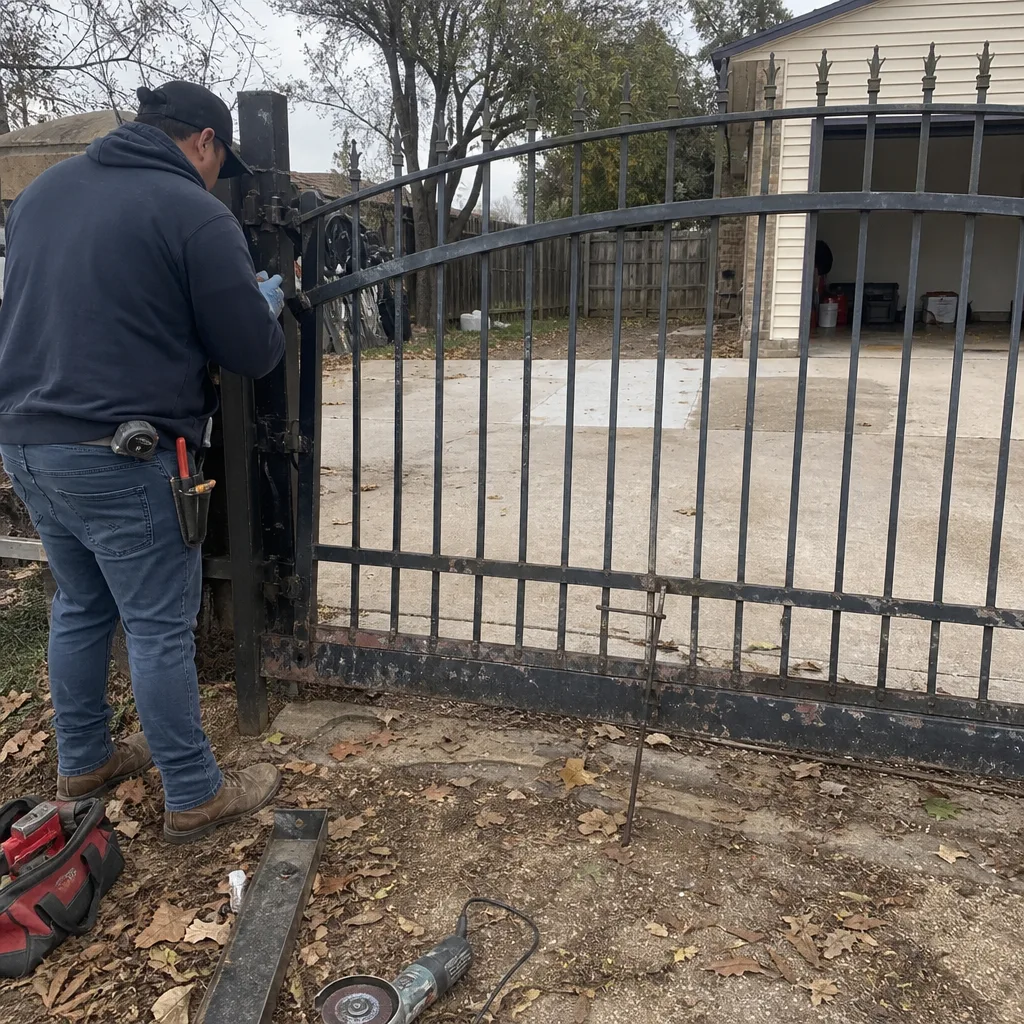 Before
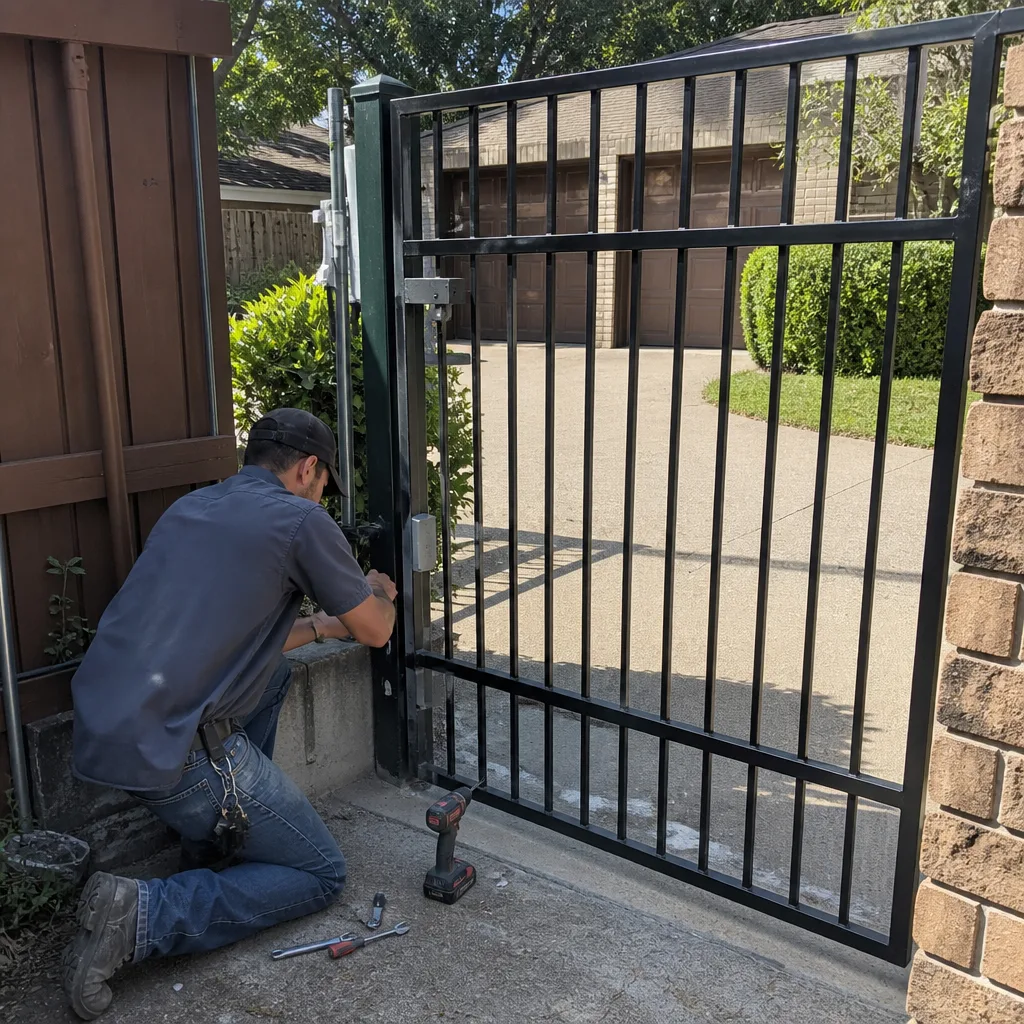 After
After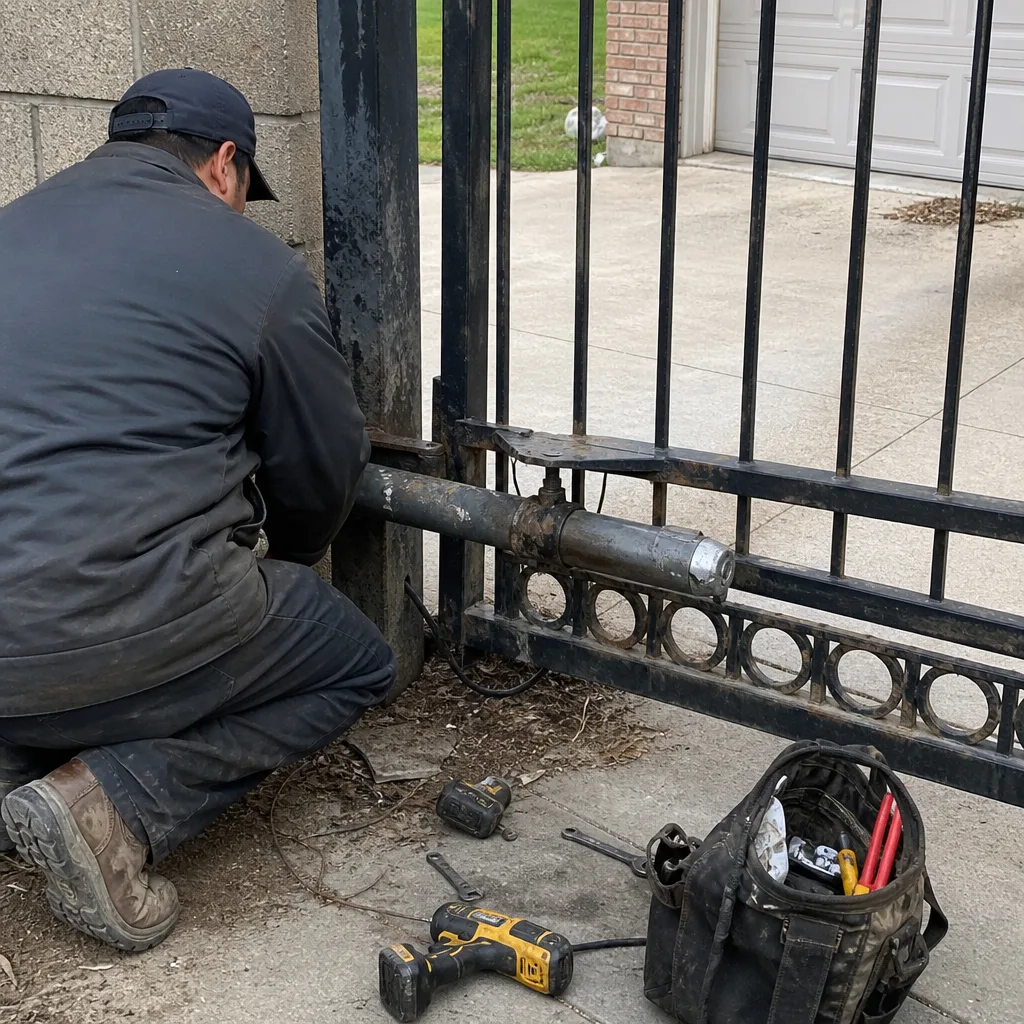 Before
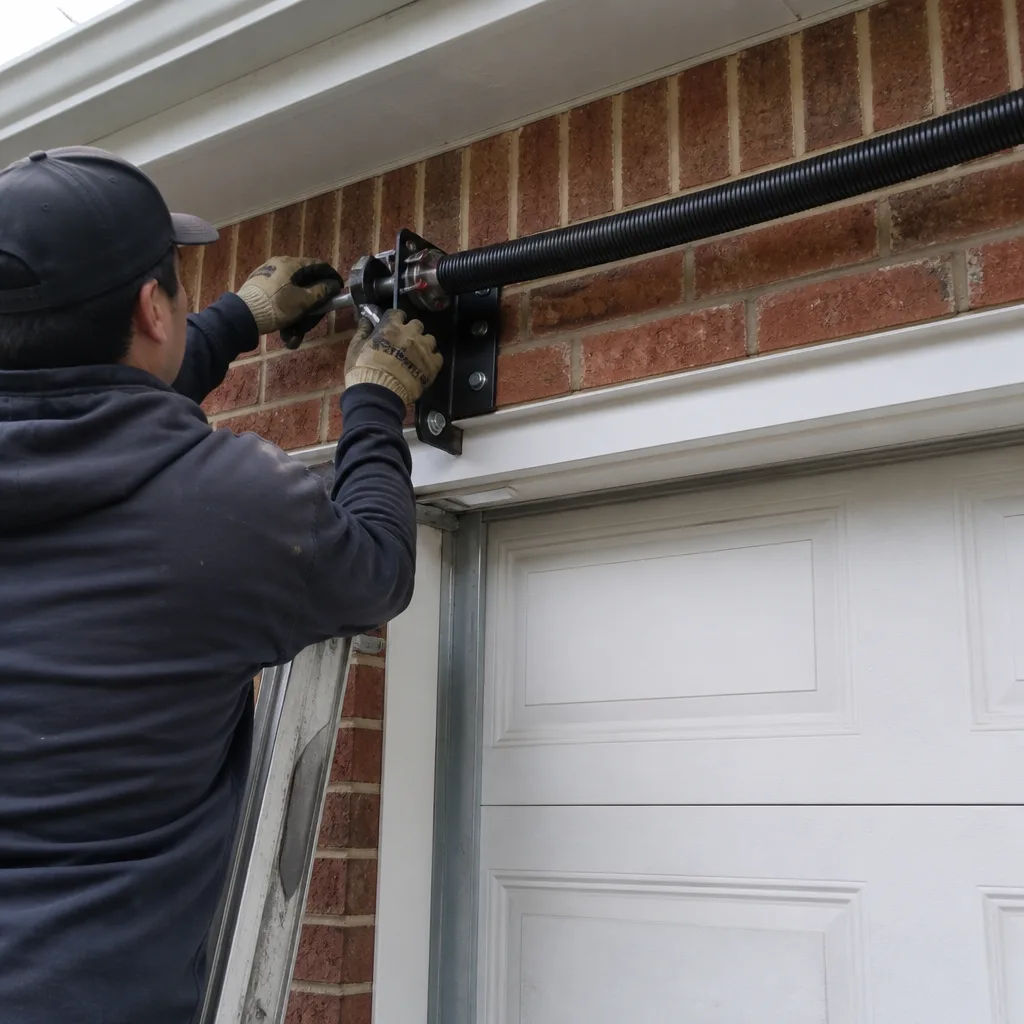 After
After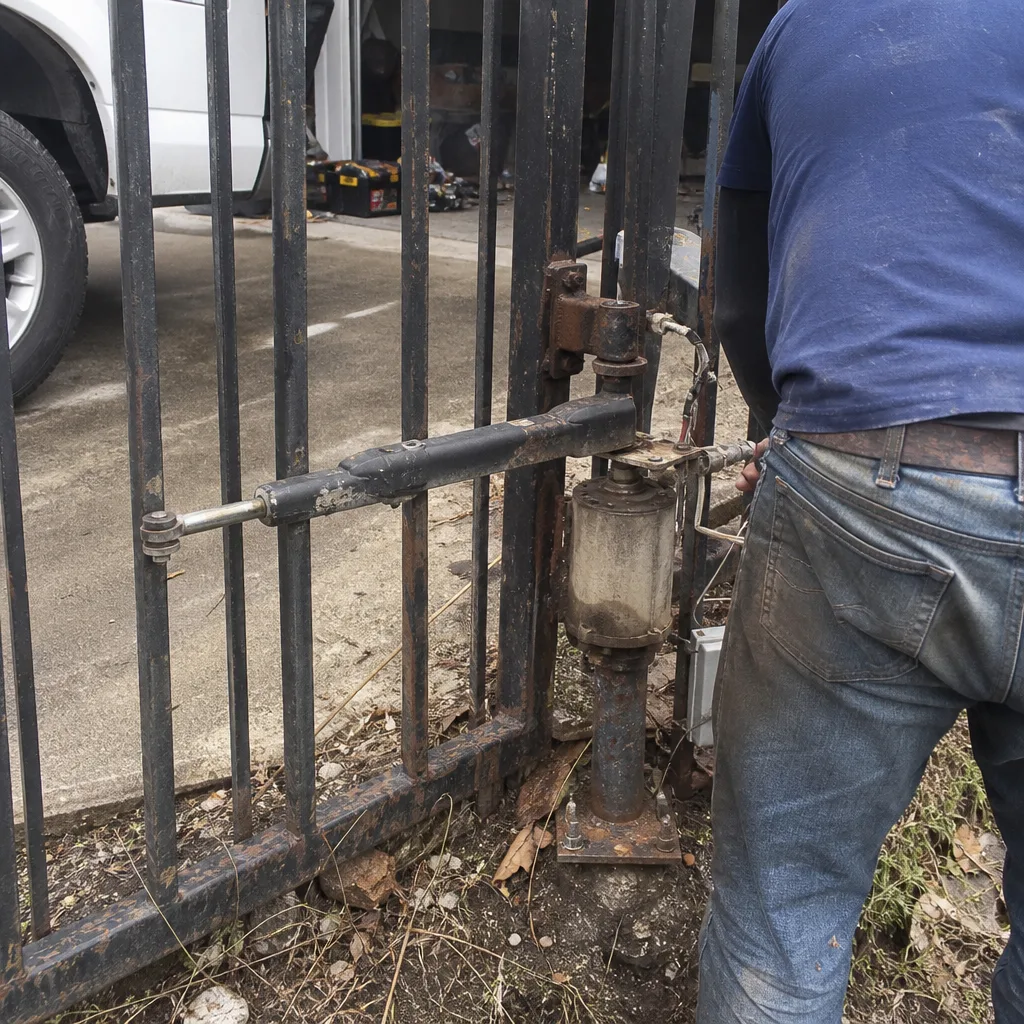 Before
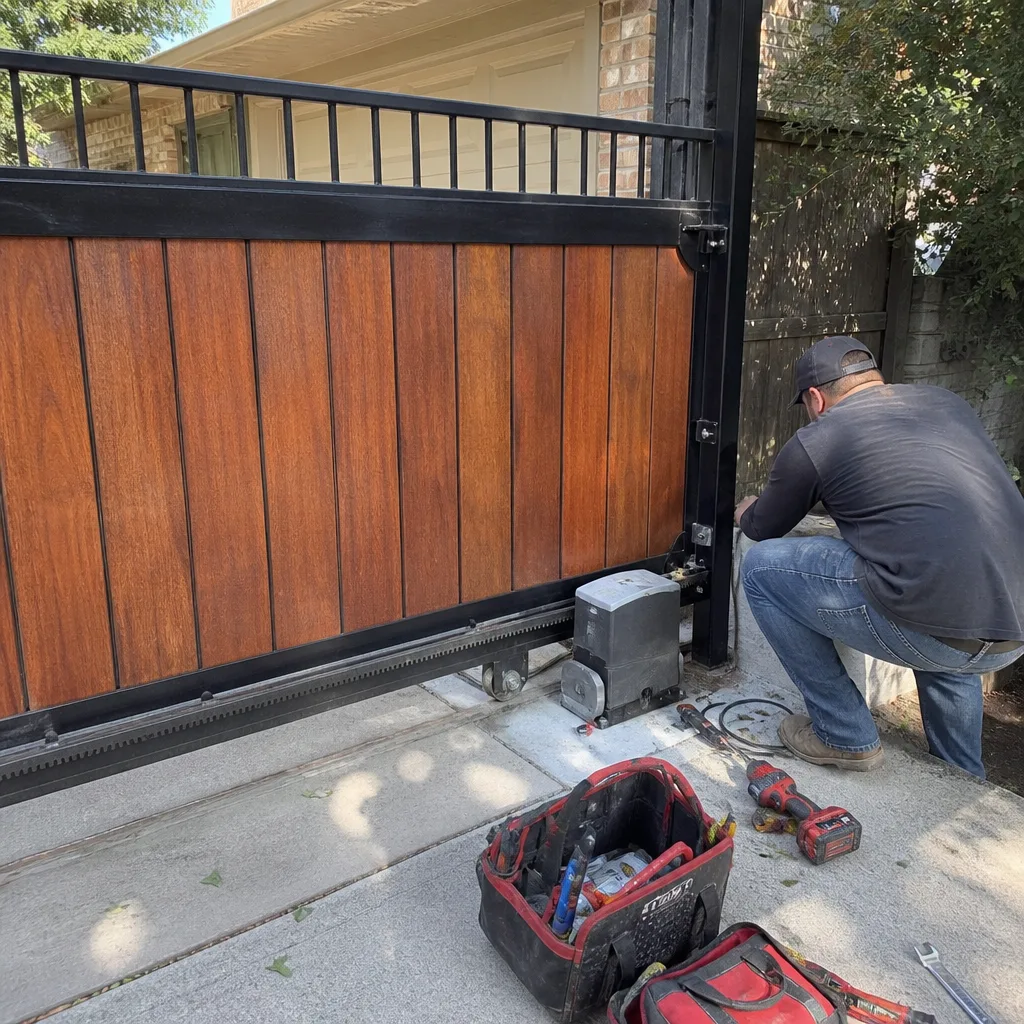 After
AfterThe Complete Guide to Gate Repair in Garland
The average Garland gate repair call runs longer and costs more than it should for one reason: the homeowner can describe the symptom but not the system, so the technician starts from zero every time. In a city built on expansive clay soil, where summer temperatures routinely push past 100 degrees, gates don’t fail randomly. They fail in patterns you can learn to recognize. This guide explains the three-part anatomy of every residential gate system, the failure signatures that match specific root causes, and the questions to ask before anyone touches your equipment. For a deeper look at whether to tackle issues yourself or hire help, see our DIY vs Professional Gate Repair: The Garland Homeowner’s Decision Guide. If you live in Garland and own a driveway gate, this is the working knowledge that separates a $180 fix from an $1,800 replacement you didn’t need.
Quick Answer
Gate repair in Garland typically costs between $180 and $340 for common fixes like limit switch resets, photo-eye realignment, and hinge adjustments, while motor replacement runs $650 to $1,400 depending on brand and installation variables. For a detailed breakdown of what drives these numbers, see our Gate Repair Cost Breakdown: The Garland Homeowner’s Reference for 2026. Most repairs we perform are completed the same day because the technician arrives with the diagnostic information needed to work efficiently. Before you call anyone, photograph your operator, note any LED fault codes, and walk the gate manually to determine whether the problem is mechanical, electrical, or in the control logic. That single step changes the entire scope of the service call.
Table of Contents
- Know Your System: The Three Layers Every Garland Gate Shares
- The Three Root Causes Behind Most Garland Gate Failures
- Reading Your Operator’s LED Fault Codes Before the Technician Arrives
- Mechanical Layer: Hinges, Posts, and the Clay Soil Problem
- Electrical Layer: Capacitors, Wiring, and Summer Heat
- Control Layer: Limit Switches, Photo-Eyes, and Logic Boards
- Repair Scope vs. Replacement Scope: Written Indicators That Separate Them
- What a Documented Gate Repair Should Look Like
BeforeAfterKnow Your System: The Three Layers Every Garland Gate Shares
Every residential gate, whether it’s a swing gate or a slide gate, operates on three distinct layers: the mechanical layer (hinges, posts, wheels, track, the physical gate itself), the electrical layer (motor, capacitor, transformer, wiring, and power supply), and the control layer (the circuit board, limit switches, photo-eyes, remote receivers, and keypads). Most gate problems begin in one layer and then masquerade as a problem in another. A hinge bound by soil movement makes the motor work harder until the capacitor burns out. A misaligned photo-eye prevents the gate from closing, which looks like a motor failure to anyone who hasn’t checked the beam.
We’ve repaired over 22,000 gates since 2014, and the single most useful diagnostic habit we teach Garland homeowners is this: identify which layer produced the first observable symptom before calling for service. A gate that groans but still moves is mechanical. A gate that hums but doesn’t move is electrical. A gate that opens when it should close, or reopens immediately after closing, is usually in the control layer. That one distinction eliminates a large portion of the guesswork.
- Mechanical layer moves: hinges, brackets, wheels, posts, track, chain, belt, the gate leaf itself.
- Electrical layer powers: motor windings, start capacitor, run capacitor, transformer, incoming line voltage, any wire carrying current.
- Control layer decides: circuit board, limit switches, photo-eyes, loop detectors, remote receivers, keypad inputs, obstruction sensors.
This three-layer model appears throughout this guide. Garland specific conditions – expansive clay, sustained heat, occasional ice events – attack each layer differently, and understanding the interaction is what prevents misdiagnosis. More on Gate Repair in Garland starts with this same framework, because it’s how our technicians are trained to approach every job.
The Three Root Causes Behind Most Garland Gate Failures
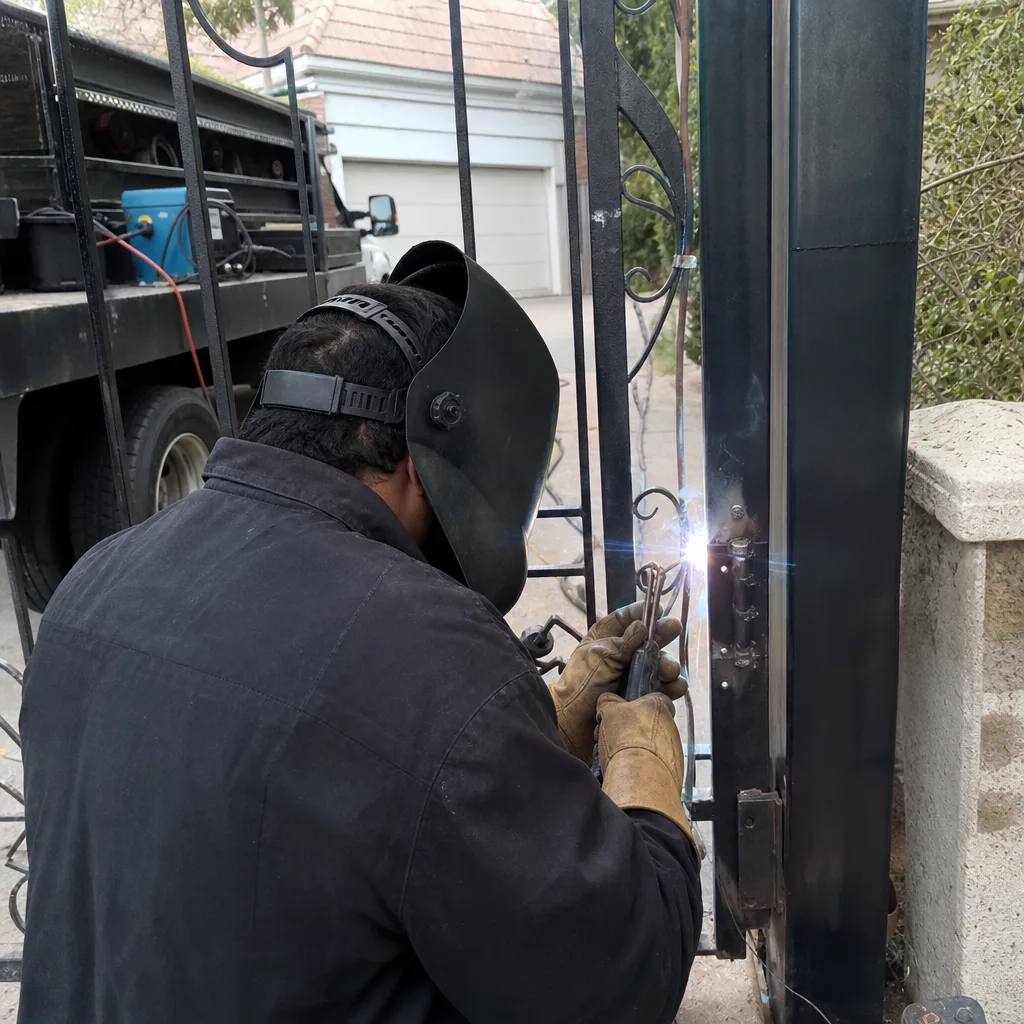
In our experience across Garland, most gate failures trace back to three documented root causes: clay soil heave, summer capacitor burnout, and mismatched replacement hardware. Each leaves a distinct signature. Here’s how to recognize which one you’re dealing with before you spend a dollar.
Clay soil heave. Garland sits on the Blackland Prairie, a band of expansive clay that swells when wet and contracts when dry. A gate post set in this soil can move a quarter inch in a single wet-dry cycle. Multiply that by a decade and you get hinge binding, latch misalignment, and gates that drag or catch. The signature: the gate works fine some weeks and poorly others, or the gap between gate and latch changes after rain. This is a mechanical problem, and no new motor will fix a post that has moved.
Summer capacitor burnout. The start capacitor in your gate motor is a cylindrical component that provides the initial jolt to get the gate moving. Capacitors have a rated temperature range, and Garland’s sustained triple-digit heat, combined with motors housed in enclosed metal boxes, pushes them past that range repeatedly. The signature: the gate hums but doesn’t move, or moves sluggishly after sitting in afternoon sun. On a 105-degree day, the operator box can reach 140 degrees internally. Capacitors are inexpensive; our capacitor replacements typically fall in the $180 to $260 range including the service call.
Mismatched replacement hardware. When a previous technician replaced a hinge, bracket, or wheel with whatever was on the truck, the resulting mismatch creates uneven wear. The signature: a repetitive failure – the same part keeps breaking or the same adjustment keeps drifting – because the underlying geometry is wrong. A gate that chews through the same hinge pin every eight months almost always has a post alignment problem or a mismatched bracket, not a bad hinge. On Gate Installation in Garland we see this pattern with particular frequency on older properties where hardware has been patched multiple times.
Reading Your Operator’s LED Fault Codes Before the Technician Arrives
Most modern gate operators from brands like DoorKing, Elite, Viking, and Ghost Controls include an LED on the circuit board that blinks in a specific pattern when something fails. The pattern is a code. The code is documented in the operator’s manual, and reading it before you call a garage door or gate company in Garland gives you a diagnostic head start that most homeowners never have.
Here’s the step-by-step process, and it takes less than five minutes:
- Locate the operator housing. For slide gates, it’s typically a metal box mounted on a concrete pad near the gate. For swing gates, it’s usually on the gate post or an adjacent pedestal.
- Open the housing cover. Most have a screw or latch. Don’t touch anything inside – you’re only reading, not adjusting.
- Find the LED. It’s usually a small green or red light on the circuit board. Count the blinks if it’s flashing. Solid on, solid off, and specific blink counts all mean different things depending on the brand.
- Photograph the board. A clear photo of the LED and the board layout helps the technician identify the exact model and firmware before arriving, which changes what goes on the truck.
- Write down the blink pattern. Three blinks then a pause isn’t the same as two blinks. Specificity matters.
On a Ghost Controls system, for example, a double-blink typically indicates an obstructed or misaligned photo-eye, while a rapid continuous flash often points to a motor overload or a bound gate. On a Viking operator, a single slow flash can signal a battery issue on models with backup power. Call our office and describe the exact pattern, and the dispatcher can often tell you whether the problem is likely minor before anyone rolls a truck. A live person answers 24/7 at (469) 273-6254 – no voicemail queue, no callback window. If you’ve already read the code, you’ve just shortened the diagnostic timeline considerably.
Mechanical Layer: Hinges, Posts, and the Clay Soil Problem
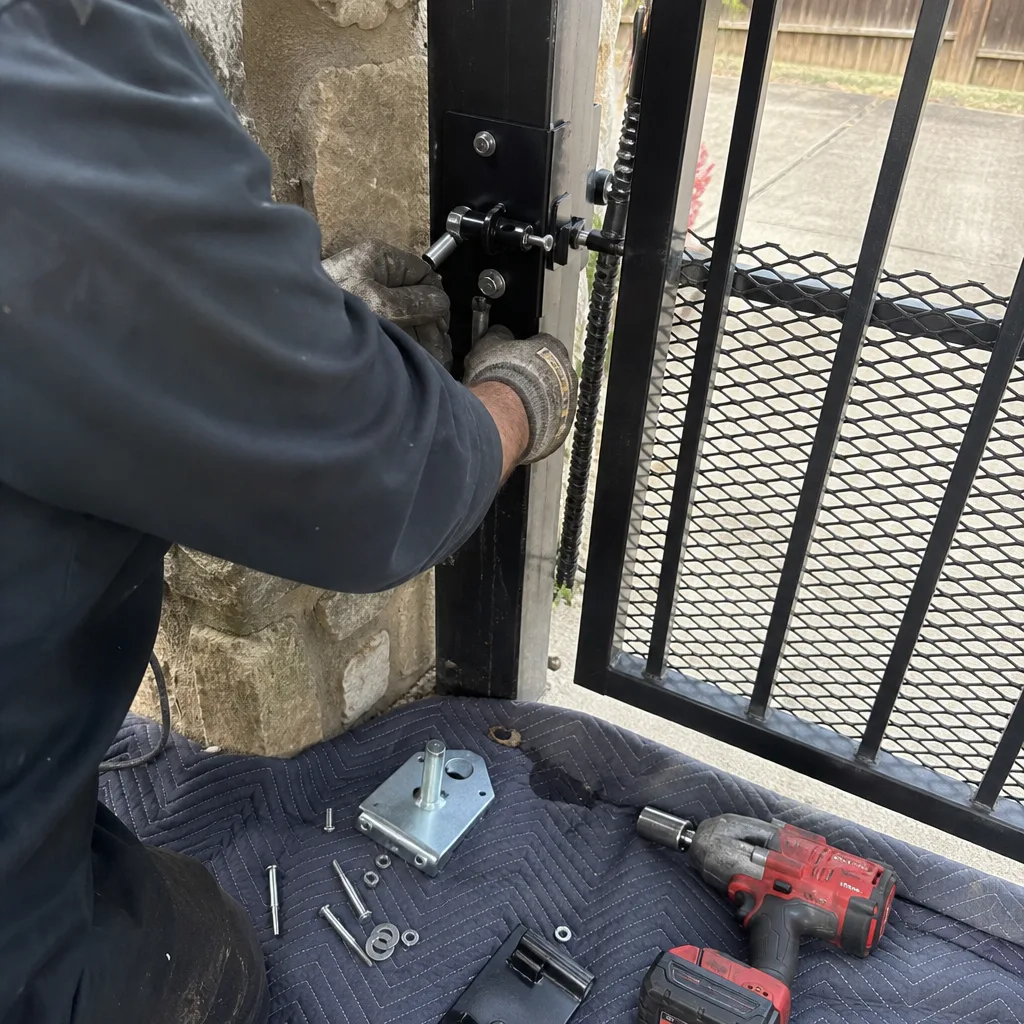
The mechanical layer fails first in seasonal patterns across Garland. We see more hinge and post related service calls in April and May, after the spring rains, and again in late September, when the first significant moisture arrives after a long dry stretch. That’s the clay at work. The soil expands when it takes on water, and anything embedded in it – posts, track pads, concrete footings – moves with it.
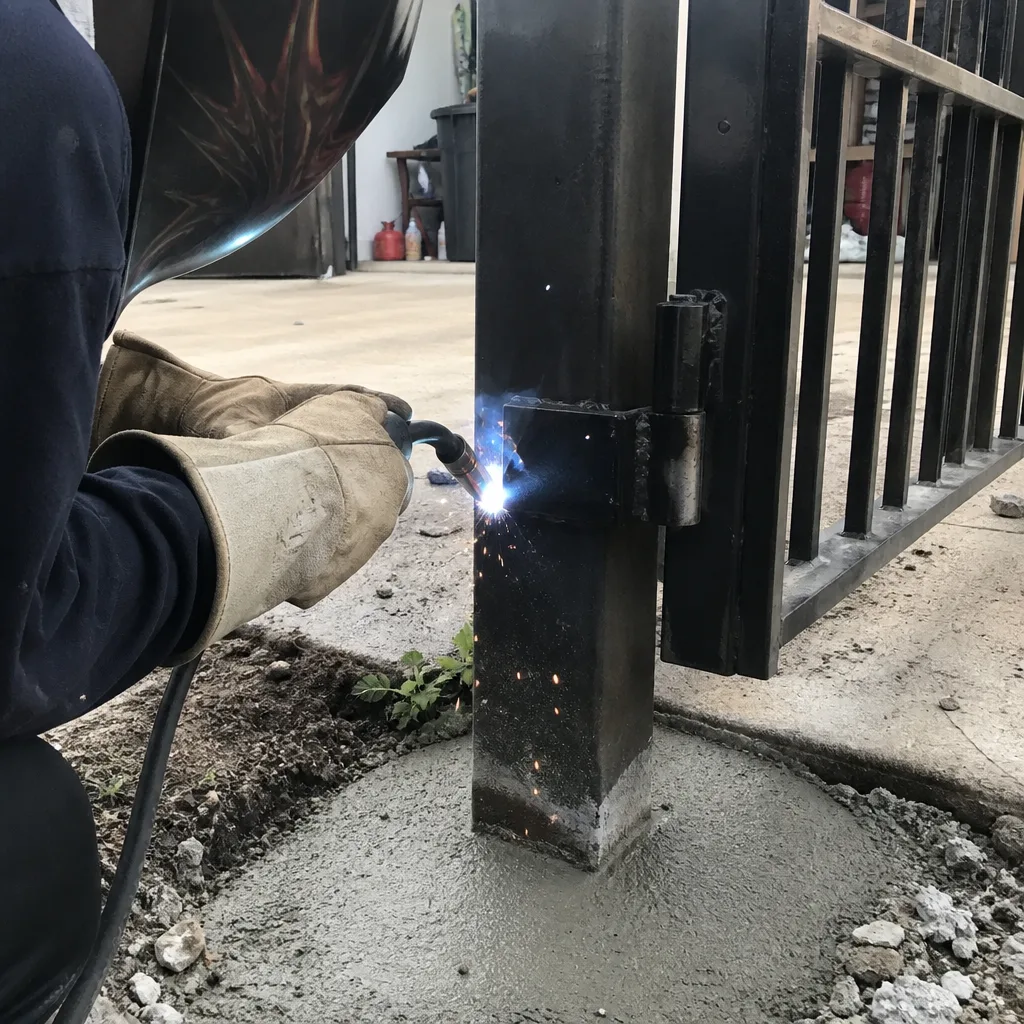
A swing gate that scrapes the ground in the spring but clears it in August is a textbook expansive-soil symptom. The post hasn’t failed; the ground under it has shifted, and the hinge geometry has changed accordingly. If the gate was originally installed with a steel-reinforced post set below the active soil zone, the movement is minimal. If it was installed by someone who didn’t account for Garland’s soil, the post moves enough to bind the gate and overload the motor.
Here’s what we check during a mechanical assessment on a Garland property:
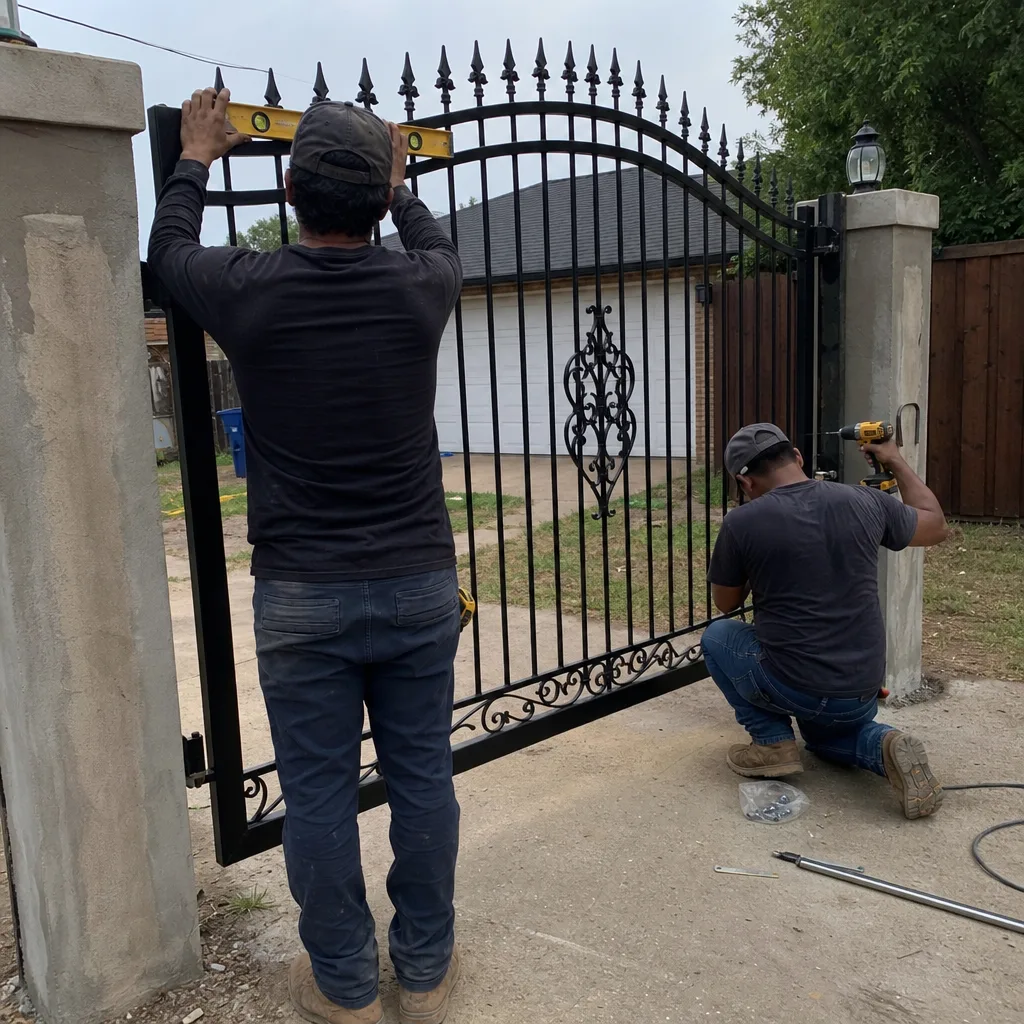
- Post plumb: A level against the post on two axes, checked at ground level and at mid-height. Anything more than a few degrees out of plumb changes how the gate hangs.
- Hinge wear pattern: Shiny metal on one side of the hinge pin means the gate is loading the hinge unevenly – usually a post alignment problem, not a lubrication problem.
- Gap consistency: The gap between gate and latch post should be consistent top to bottom. A wedge-shaped gap tells you the post is leaning.
- Track and wheels (slide gates): Wear grooves on the wheels that don’t match the track profile indicate a mismatched replacement. The wheel and track need to be from the same manufacturer or a verified compatible spec.
- Ground clearance: We measure it at the open and closed positions. A gate that clears unevenly across its travel arc has a hinge or post geometry issue.
What we don’t do is throw a bigger motor at a mechanical problem. A larger motor will move a bound gate for a while, but it accelerates wear on every hinge, bracket, and wheel in the system, and the original problem – the moving post or the mismatched hardware – remains. That’s a future service call someone else’s installation created. We’d rather reset the post or replace the mismatched component and hand the homeowner a gate that moves freely again.
Electrical Layer: Capacitors, Wiring, and Summer Heat
Garland’s heat profile is hard on electrical components in ways that colder climates never experience. The start capacitor, the transformer, and the motor windings all live inside an operator housing that soaks up direct sun. On a 100-degree August afternoon, we’ve measured operator box interiors at 135 to 145 degrees. Capacitors rated for 70 degrees Celsius (158 Fahrenheit) are running at the top of their range for hours at a stretch, day after day.
The signature of heat-related electrical failure is time-of-day dependent. The gate works in the morning, fails in the afternoon, and works again after sunset. That’s not an intermittent wiring fault – that’s a component exceeding its thermal tolerance, and it will fail permanently if left alone. When we get a call describing that exact pattern, we check the capacitor first, then the transformer, then the motor windings with a megohmmeter to check insulation integrity.
Common electrical findings, in order of frequency on our Garland service calls:
- Failed start capacitor: The gate hums but won’t start, or starts only when pushed. Replacement is straightforward and our flat rate covers the part, the visit, and the documentation.
- Degraded transformer: The board powers up intermittently or the keypad works but the motor doesn’t. A transformer providing voltage outside the board’s tolerance creates erratic behavior across multiple functions.
- Compromised wire insulation: In underground conduit runs that weren’t sealed properly, moisture intrusion plus heat cycles degrades insulation. The result is a ghost in the system – occasional false activations, intermittent photo-eye faults, or unexplained motor errors.
- Loose terminations: Heat cycles expand and contract connection points. A terminal that was tight in January can be loose by July. We re-torque every connection during an electrical service.
- Motor winding failure: This is the most expensive electrical repair, and it usually follows years of the gate running under extra load from a mechanical problem. The winding insulation breaks down from sustained heat and the motor eventually shorts.
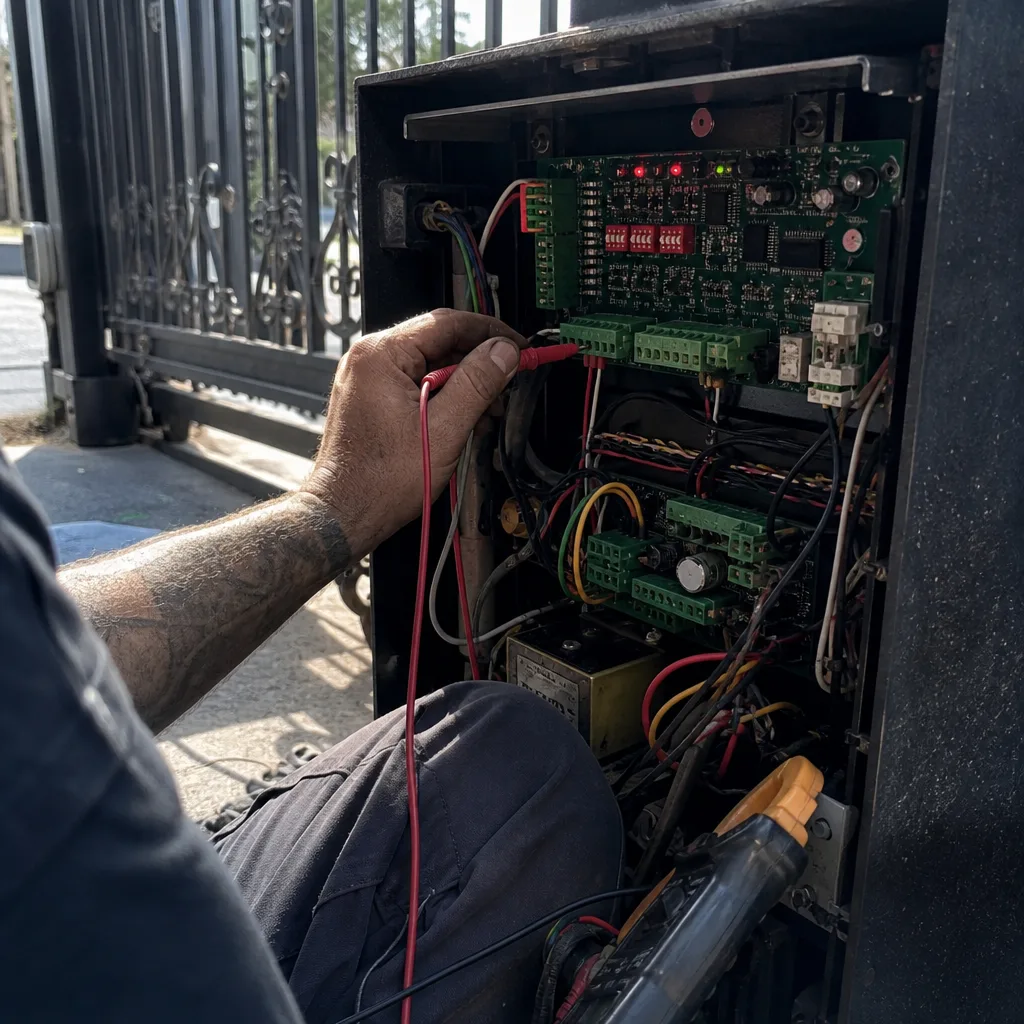
Electrical work on a gate operator involves line voltage and should never be attempted by someone unfamiliar with the equipment. Gate Motor & Opener in Garland service covers the full electrical diagnostic path, and every repair includes a written summary of what was found and what was replaced. We photograph the inside of the operator housing before any wire is disconnected.
Control Layer: Limit Switches, Photo-Eyes, and Logic Boards
The control layer is where most false diagnoses live. A gate that reopens immediately after closing looks like a broken motor to someone who hasn’t checked the photo-eye. A gate that travels too far and stalls looks like a gearbox problem to someone who hasn’t checked the limit switches. The control layer is the diagnostic layer – it’s almost always accessible, testable, and well documented by the manufacturer, and it’s where a precise technician finds the answer before assuming anything expensive.
Here’s how the three main control-layer components work and fail:
Photo-eyes. A photo-eye (the infrared beam that stops the gate if something crosses the path) can be misaligned by an impact, by wind moving the gate slightly, or by the same clay soil shifting a post. The failure signature: the gate starts to close, then reverses and stays open, or it refuses to close at all. The diagnostic step: check the alignment LED on the photo-eye itself, if it has one, and inspect whether the beam path is blocked by foliage, a parked car, or a shifted gate leaf. Misalignment of roughly two inches is enough to break the beam on most systems.
Limit switches. Limit switches tell the operator where the gate stops in the open and closed positions. They are electromechanical or magnetic, and they drift. A limit switch set 12 degrees past travel will stall the gate against the stop and trigger the obstruction sensor on every cycle. The gate moves, then jerks, then stops – and the homeowner assumes the worst. We recently reset a limit switch on a Garland slide gate that had drifted far enough to stall the motor against the end stop on every close cycle. The fix took 20 minutes and a flat-rate service call.
Logic boards. The circuit board is the brain, and it fails in specific patterns: a section of the board works while another doesn’t, or the board responds intermittently to remote inputs. Before replacing a board, we rule out power supply issues, wiring faults, and component-level failures on the board itself. Boards are expensive enough that the diagnostic sequence matters – you don’t replace a $400 board because a $30 limit switch had drifted.
Repair Scope vs. Replacement Scope: Written Indicators That Separate Them
Every gate owner who calls a repair company has one underlying question: am I about to spend a few hundred dollars or a few thousand? The honest answer depends on what we find during the assessment, and a reputable company should be able to articulate the threshold in writing before any work starts. Here are the specific indicators we use to determine whether a repair scope or a replacement scope applies.
Repair scope indicators:
- The post is plumb and stable; the failure is in a component (hinge, bracket, wheel, capacitor, limit switch, photo-eye) that can be replaced independently.
- The operator is a known brand with available parts – DoorKing, Elite, Viking, Ghost Controls, LiftMaster, FAAC, BFT, Linear, and Mighty Mule are all serviceable.
- The gate structure (the leaf itself) is sound: no significant rust through at the frame, no weld failures, no sagging that indicates internal failure.
- The operator motor spins freely when tested manually with the drive mechanism disengaged.
Replacement scope indicators:
- The gate leaf has structural corrosion, broken welds at the frame corners, or internal rot that makes welding economically unviable.
- The operator is obsolete with no parts availability, and the replacement motor must be custom-fabricated to fit.
- The post has moved enough that re-setting it properly, which for Garland clay means excavating below the active soil zone and possibly pouring a deeper footing, costs more than a replacement gate hung on a new post.
- Multiple layers have failed simultaneously to such an extent that repair would cost more than 60% of replacement.
The key word is written. Every Gate Repair visit in Garland includes a written scope with the findings, the recommended path (repair or replace), and a flat price handed to you before any tool touches your gate. That’s Haven Standard Clause 1 – “Have it in writing” – and it’s the reason you’ll never receive a surprise invoice from us. If you have a competing written estimate, we’ll review it free of charge as a second opinion.
What a Documented Gate Repair Should Look Like
Adrian Vance started in commercial access control in 2014, where every site visit demands a documented trail: what was found, what was adjusted, what was installed, and what the wiring looked like before and after. That commercial-grade documentation habit carries over to every residential gate we touch in Garland. Here’s what you should expect to receive, and what we deliver on every single job.
The photo record is the part competitors miss. Before we disconnect a single wire, we photograph the inside of the operator housing. That photograph captures the exact wiring arrangement, the position of every terminal, and the state of every component. If a future technician – ours or another company’s – needs to understand how the system was wired, the photo answers it in seconds. No guesswork, no re-diagnosis, no paying twice to rediscover the same problem. That’s Haven Standard Clause 4: Evidence on every job.
Here’s the documentation package from a standard Vance Gate Repair visit:
- Written scope of work: What we found, what we recommend, and the flat price. Signed by you before work begins.
- Photo log: The operator housing before work, the failed component in place, the replacement component, and the final configuration after testing.
- Written record of parts: Part numbers, brands, and quantities installed. Your gate’s service history now includes exact component identification.
- Limit switch and adjustment readings: The final settings recorded numerically, so future adjustments start from a known baseline rather than a guess.
- 365-Day Done Right Promise: If the repair fails within one year, we return and make it right. No argument, no fee, no expiration date within that window.
Keep your copy of the documentation. Store it with your property records, or photograph it and keep it in a folder on your phone. The next time a gate issue arises, that record turns what might have been a diagnostic mystery into a ten-minute fix, because the technician starts from a known baseline instead of a blank slate.
Common Mistakes to Avoid
- Throwing a bigger motor at a mechanical problem. A bound gate from a shifted post will eventually destroy the larger motor too. Fix the geometry first, then size the motor to the load it should have, not the load the misalignment created.
- Replacing the operator without photographing the existing wiring. When the old operator comes out without a photo record, the next technician has to trace every wire from scratch. That’s billable time you shouldn’t have to pay for twice. We photograph every housing before disconnecting anything.
- Ignoring time-of-day failure patterns. A gate that fails only in the afternoon heat is telling you something specific about a capacitor or transformer. Describe the pattern to your technician; it shorts the diagnostic process significantly.
- Manually forcing a gate that’s stuck. If a swing gate won’t move under motor power, yanking it can shear hinge bolts, strip gears, or bend the drive arm. Disengage the operator first, then move the gate by hand to test the mechanical layer in isolation.
- Mixing brands on critical hardware. A Viking wheel on a DoorKing track runs, but it wears unevenly and shortens the life of both components. Match the manufacturer or use a verified compatible spec.
- Letting a drifting limit switch ride. The gate still opens and closes, so it feels minor – but a limit switch that’s drifted out of travel is stalling the motor against the stop on every cycle. That’s how gearboxes and motors die young.
- Skimping on the post footing in Garland clay. A post set in a shallow footing within the active soil zone will move every wet-dry season. Proper depth and compaction below the active zone is the difference between a gate that works for five years and one that works for twenty.
When to Call a Professional
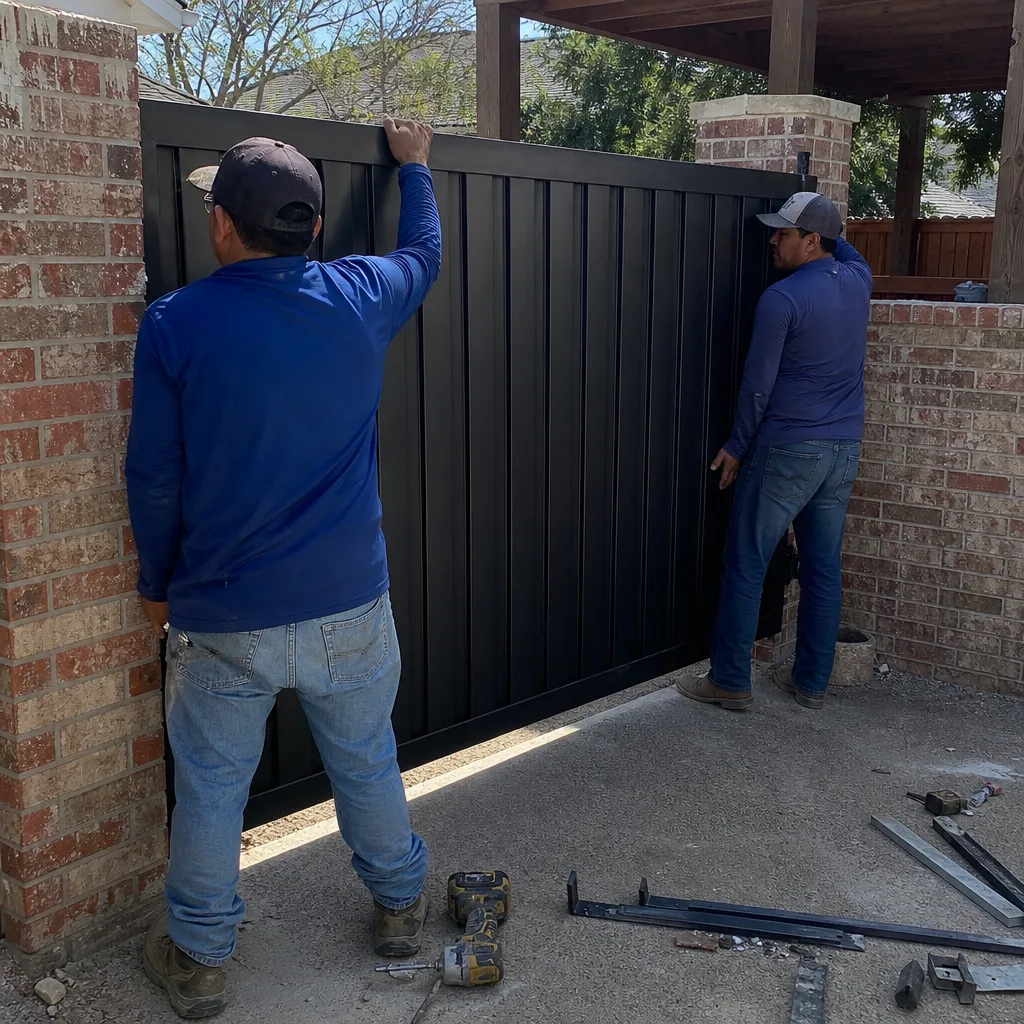
Call a professional when the gate doesn’t operate normally, when you’ve read the LED codes and they indicate a fault you can’t resolve, when you hear grinding or straining that wasn’t there before, or when the gate has shifted visibly from its original position. Gate operators involve line voltage, spring-loaded or gear-driven mechanisms, and safety sensors that must be properly aligned to prevent the gate from closing on a person or vehicle. The most dangerous component on a gate system is the tensioned spring or counterweight mechanism on certain swing and barrier gates – if you have one of these and it’s under tension, leave the housing closed and call us. Vance Gate Repair Garland offers free estimates in Garland – call (469) 273-6254. A live person answers, 24 hours a day, and we’ll schedule a technician with a name and photo provided before arrival.
For a broader look at the services available, start at the Vance Gate Repair Garland home page, which links the complete service map.
Frequently Asked Questions
Most gate repairs in Garland run between $180 and $340 for common fixes like limit switch resets, photo-eye realignment, hinge adjustments, and capacitor replacement, while motor replacement runs $650 to $1,400 depending on brand and installation variables. Structural repairs like post re-setting or welding run higher and require a written quote after assessment. Every Vance Gate Repair job includes a flat written price before work starts, so the number we hand you is the number you pay. Call (469) 273-6254 for an exact quote – estimates are free.
Yes, we offer same-day gate repair in Garland for urgent issues, and our technicians are dispatched across the metro daily. A live person answers the phone 24/7 at (469) 273-6254, so you’ll speak to a dispatcher immediately rather than leaving a voicemail and waiting for a return call. Describe the symptom, and we’ll tell you what to check before the technician arrives.
That pattern almost always points to a heat-related electrical component failure, typically the start capacitor or transformer exceeding its thermal tolerance inside the operator housing. Garland’s summer temperatures push enclosed operator boxes past 135 degrees internally, and components rated for lower temperatures degrade under that sustained load. The fix is usually a capacitor or transformer replacement rather than a new motor, and it’s a flat-rate repair in most cases.
The answer depends on what the diagnostic shows: if the motor spins freely when the drive mechanism is disengaged, the problem is mechanical or control-layer, not the motor itself. We determine this before quoting any work. If the motor is genuinely failed, brand, age, and parts availability determine whether replacement is the right path. Our written scope always separates the repair indicators from the replacement indicators so you can see the logic.
We service nine major automation brands: LiftMaster, FAAC, BFT, Linear, Viking, Ghost Controls, DoorKing, Elite, and Mighty Mule. Whatever motor is already on your property, we work on it rather than steering you toward an unnecessary replacement. If you have a brand outside that list, call us and we’ll let you know what we can do before you book.
A full gate installation includes the gate leaf built or ordered to your specifications, posts set to the correct depth for Garland’s expansive clay soil (below the active zone), the operator matched to the gate’s weight and travel distance, safety photo-eyes, and all wiring from the operator to the power source. Every installation is quoted in writing before work begins, and the finished job includes the same photo documentation and 365-Day Done Right Promise that applies to our repairs. See Gate Installation in Garland for details.
The Bottom Line
Gate repair in Garland is a diagnostic process before it’s a labor process, and the homeowners who understand their system – the three layers, the failure signatures, and the fault codes – get better outcomes for less money. The clay soil will keep moving your posts. The summer heat will keep wearing on your capacitors. The mismatched hardware a previous technician installed will keep causing repetitive failures until someone identifies it and corrects it. When that someone has a written price in hand, a camera recording every step, and a year-long promise backing the work, the repair becomes what it should be: a fixed gate and a documented record that means you’ll never pay to diagnose the same problem twice. Explore more guides & resources to keep your system running smoothly. Call Vance Gate Repair Garland at (469) 273-6254 for a free estimate, and we’ll hand you the written scope before any tool touches your gate.
Written by Adrian Vance, Owner at Vance Gate Repair Garland, serving Garland since 2014.