
Last updated September 20, 2026
Free on-site gate assessment - hinges, posts, and your LiftMaster or Nice gate operator checked before anything is quoted
The assessment is free and the quote is the invoice.
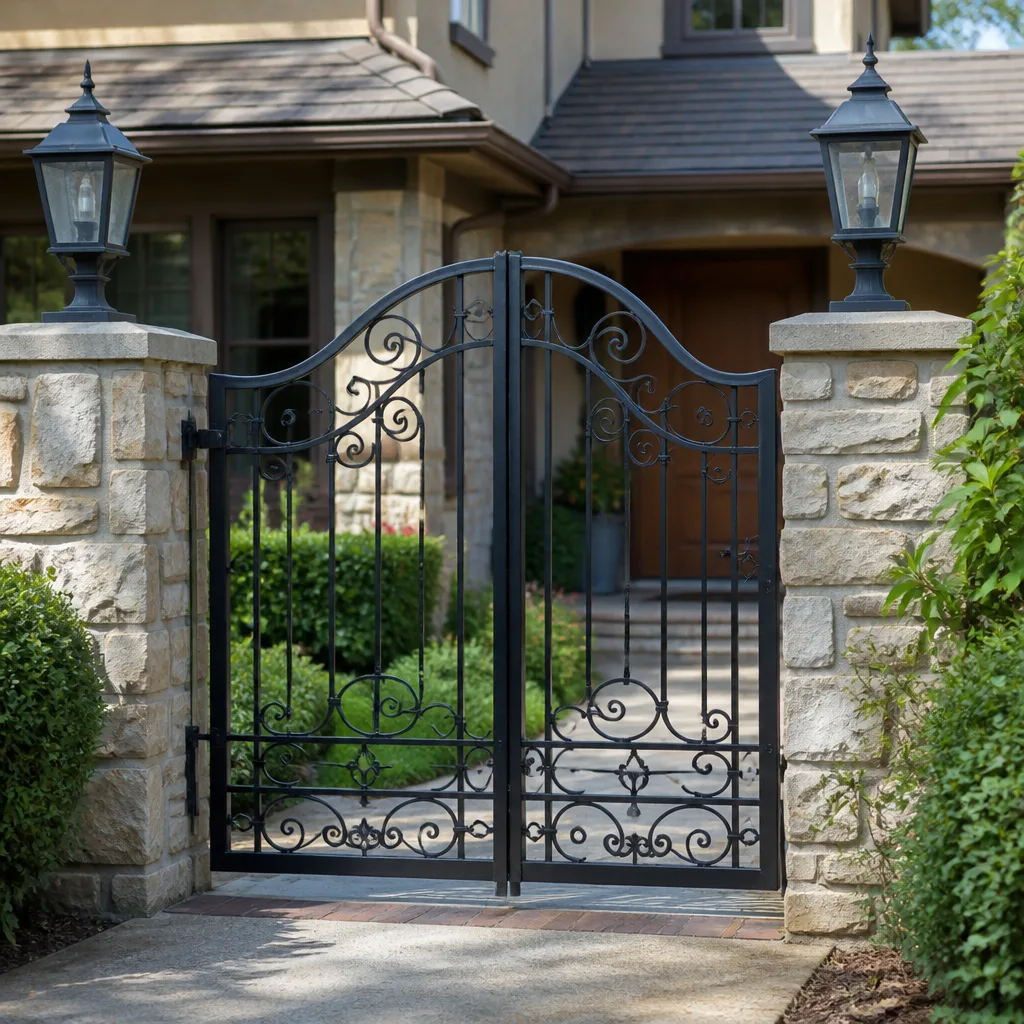
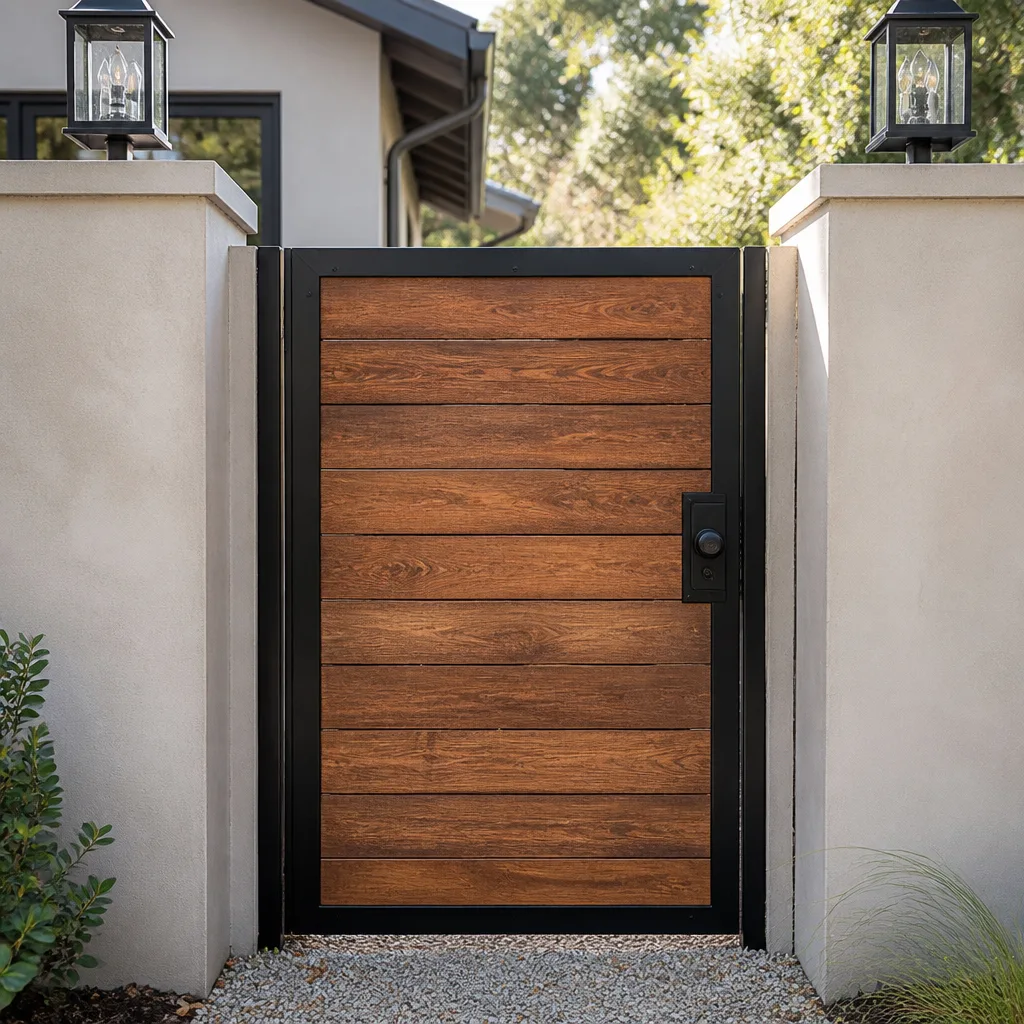
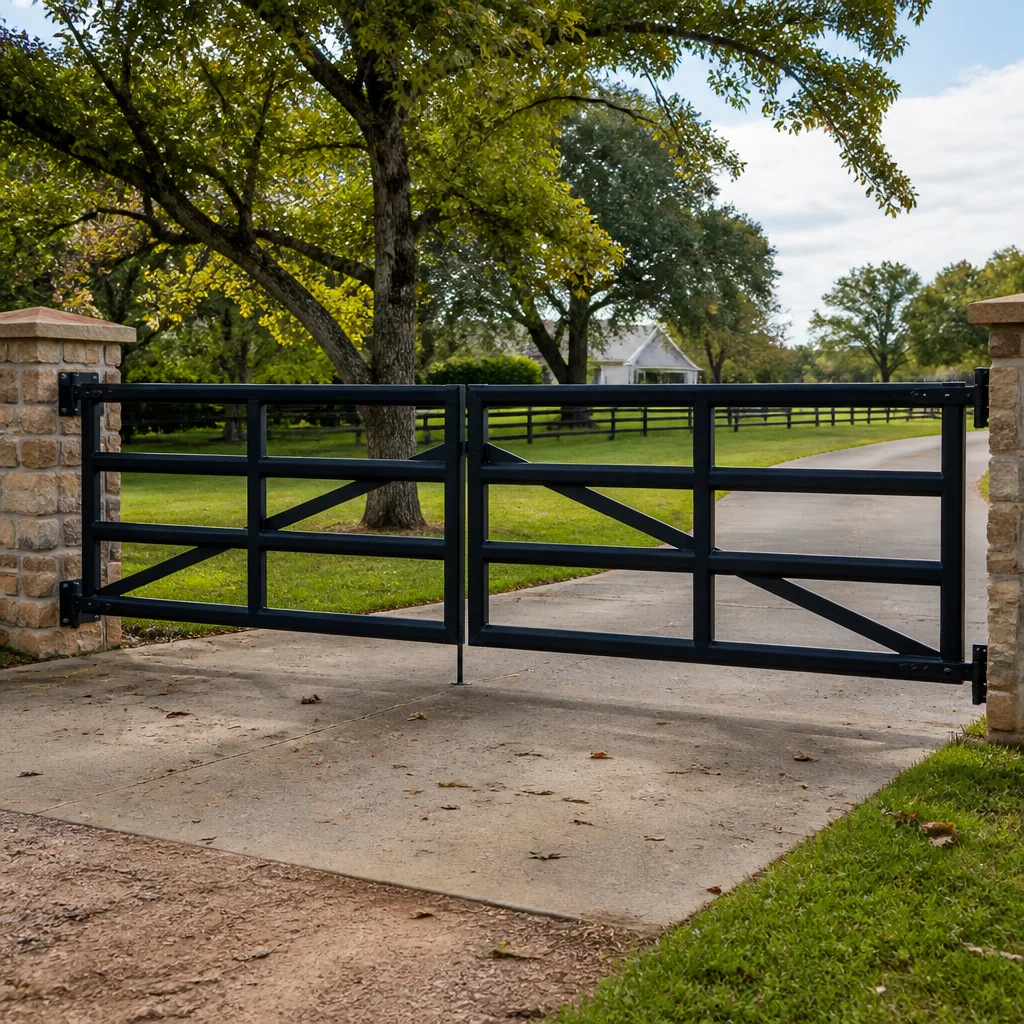
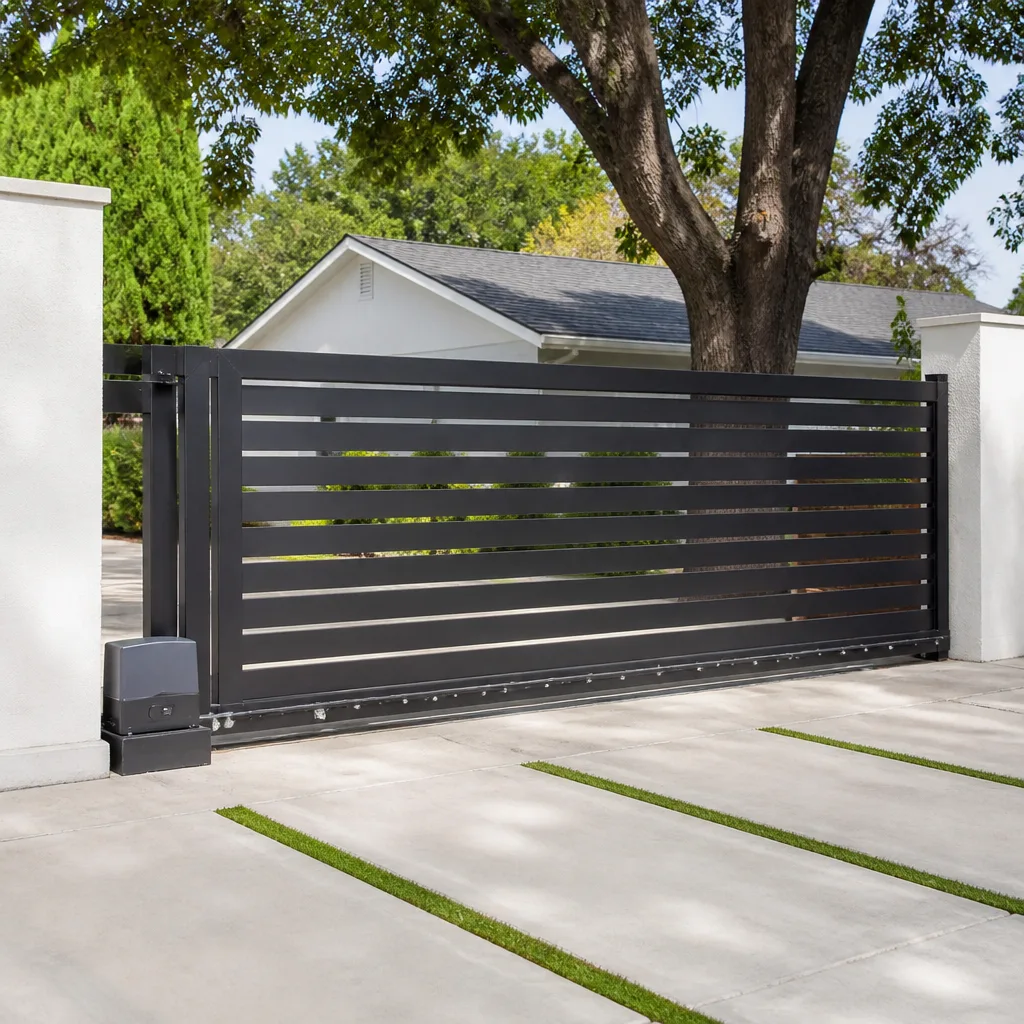
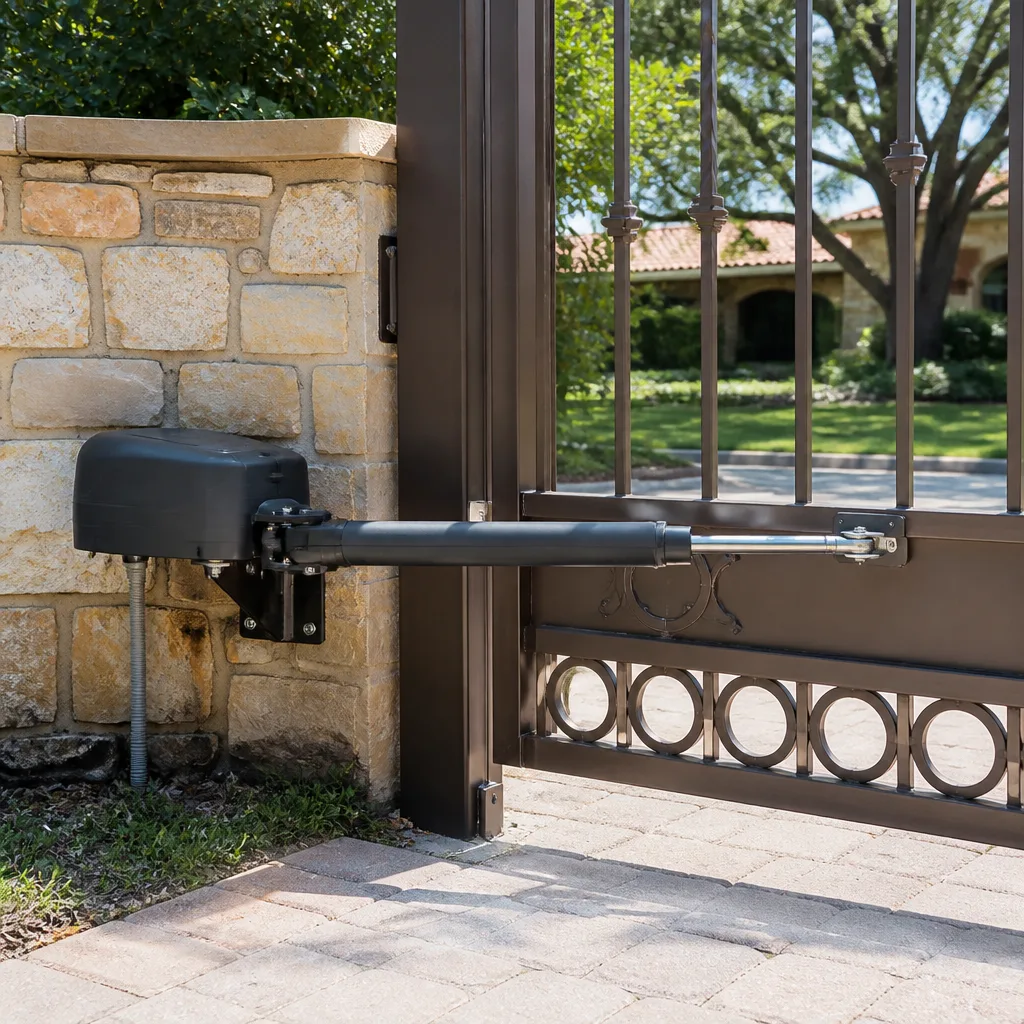
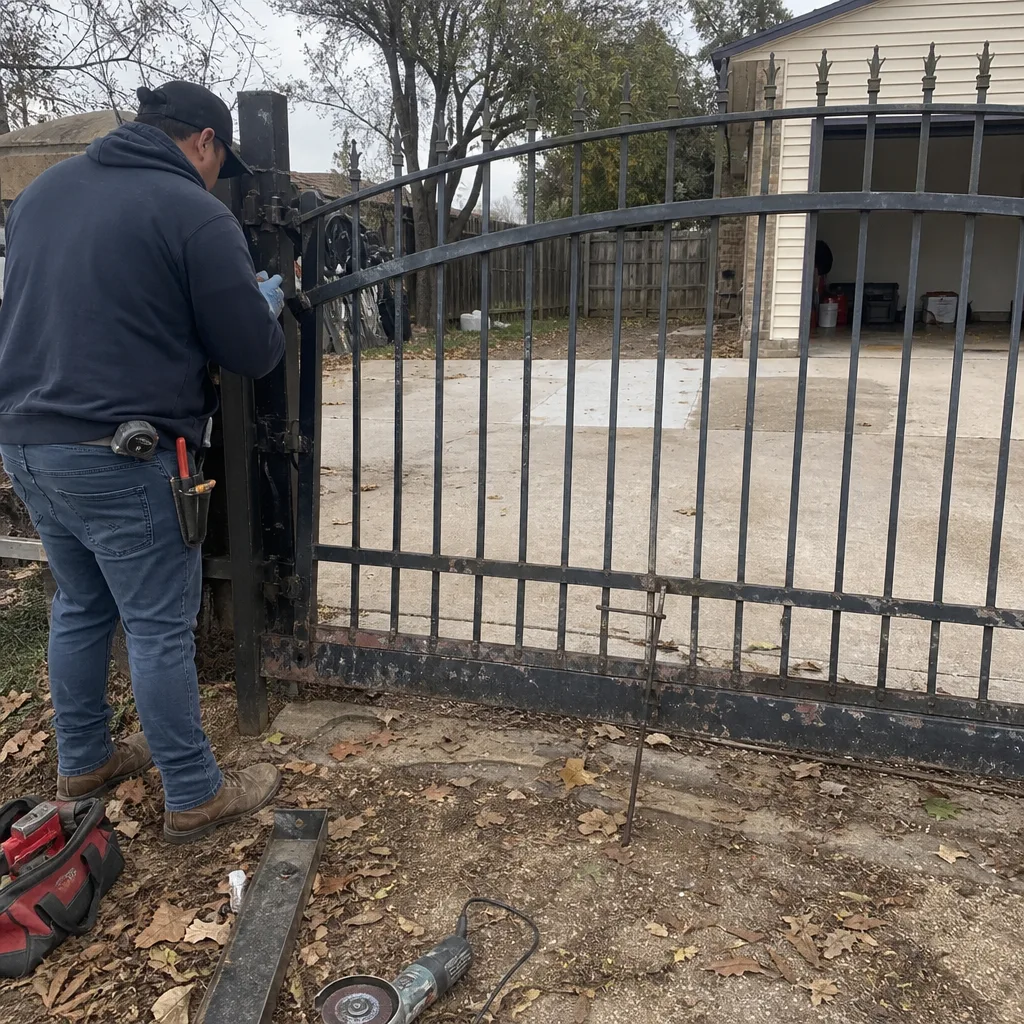 Before
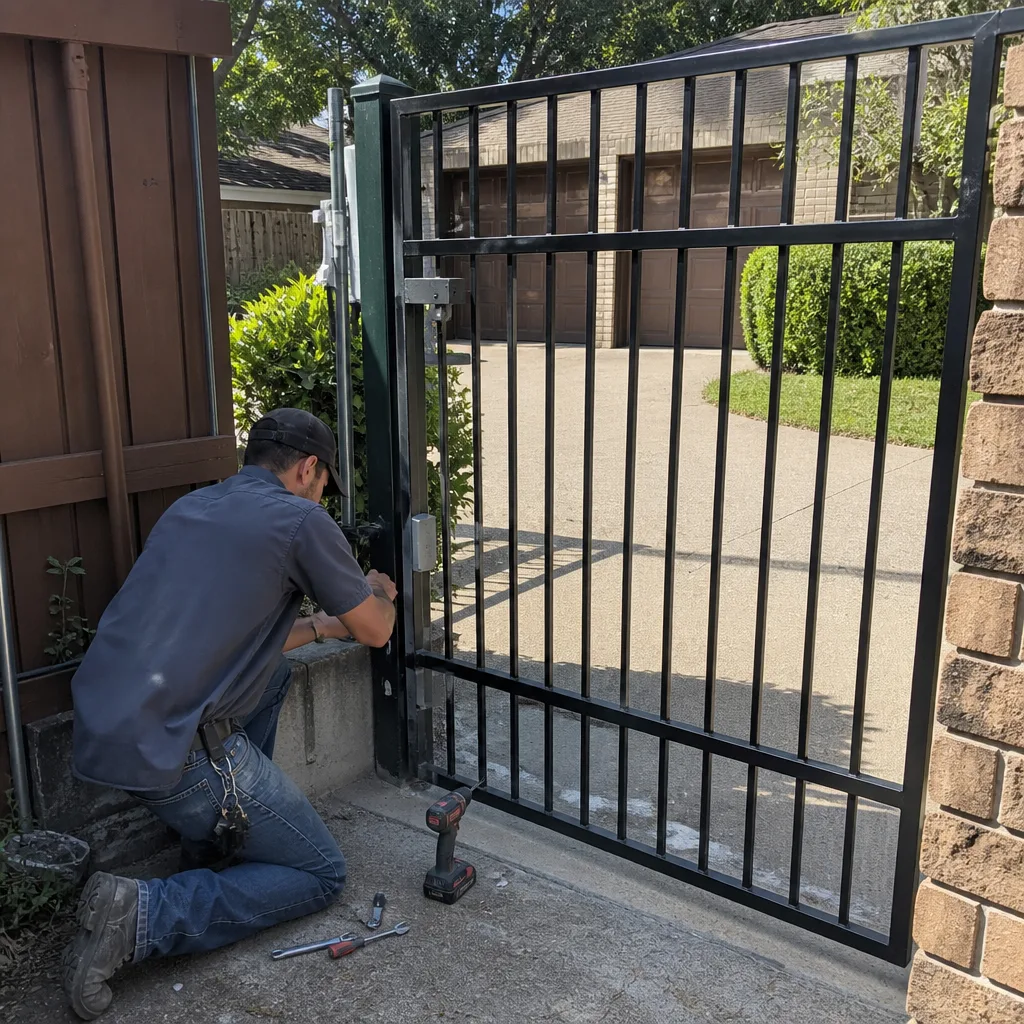 After
After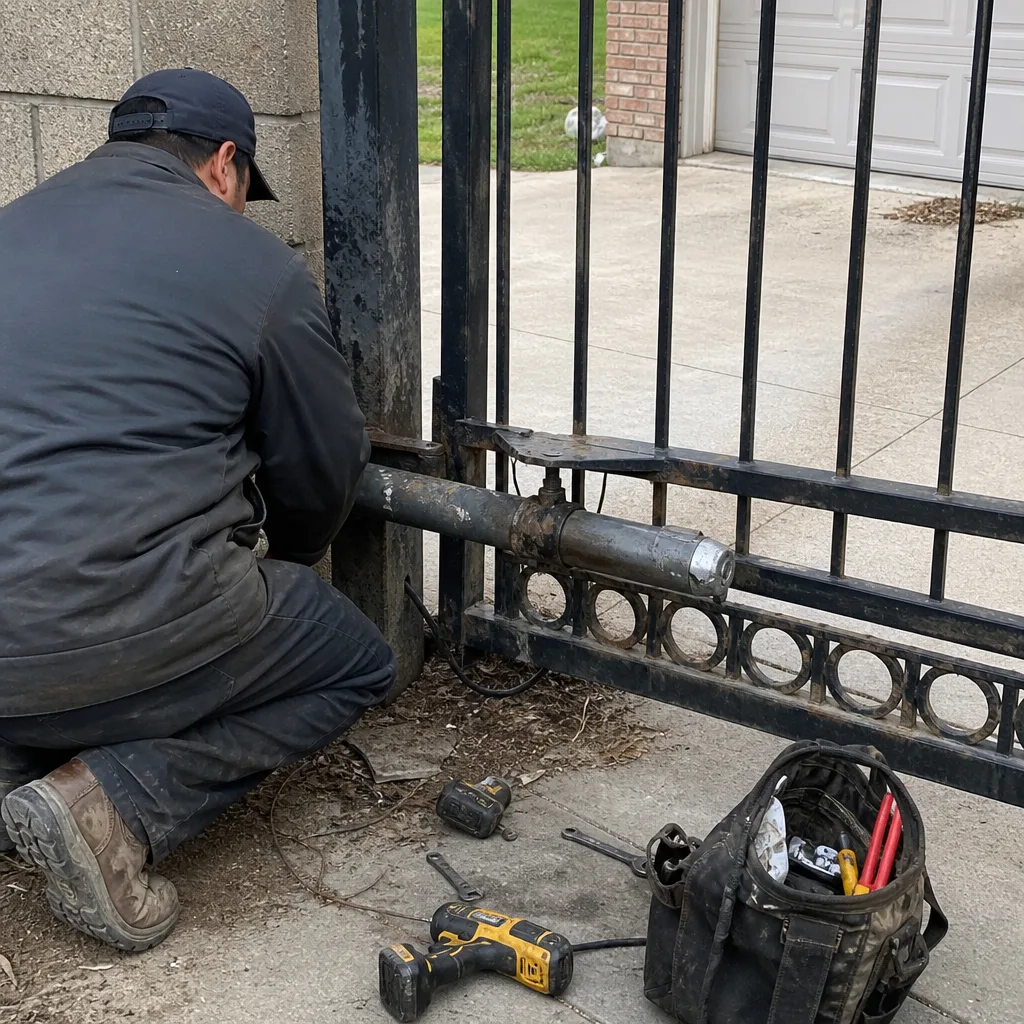 Before
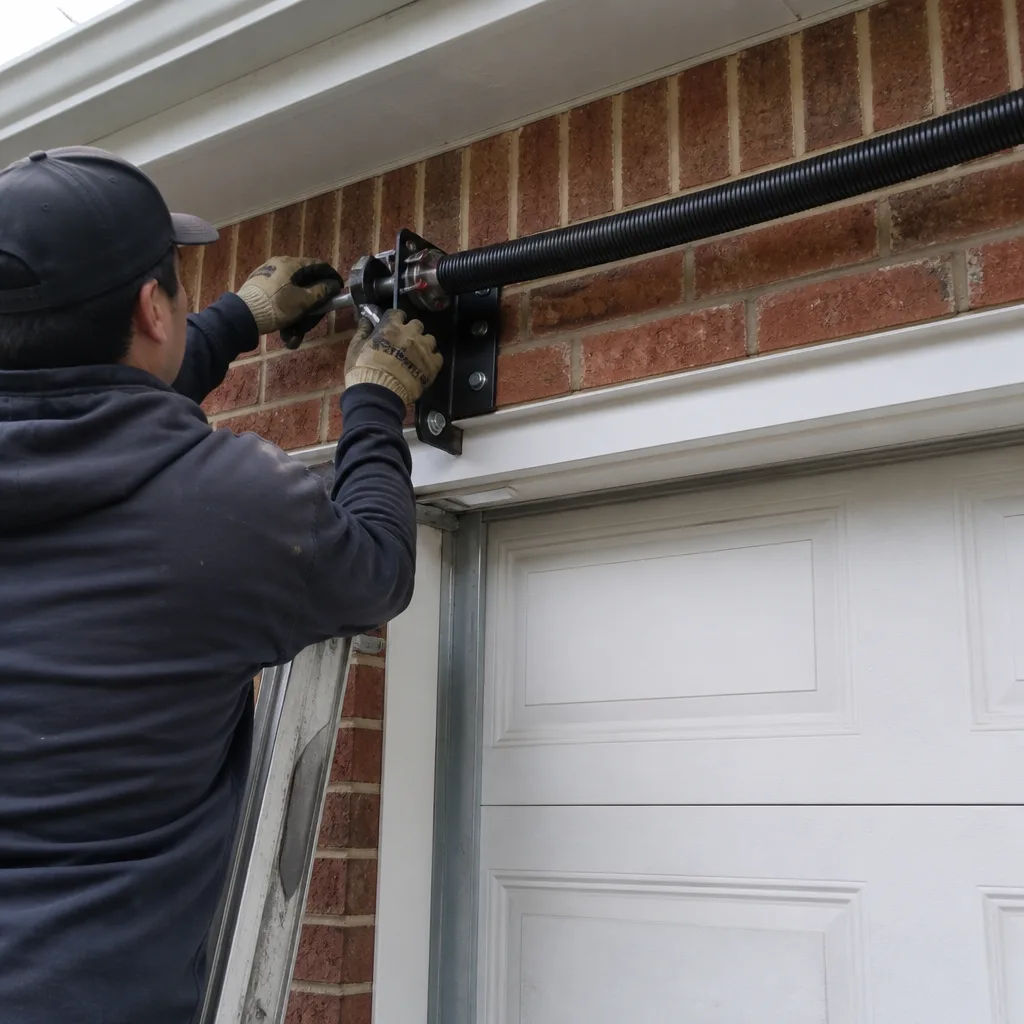 After
After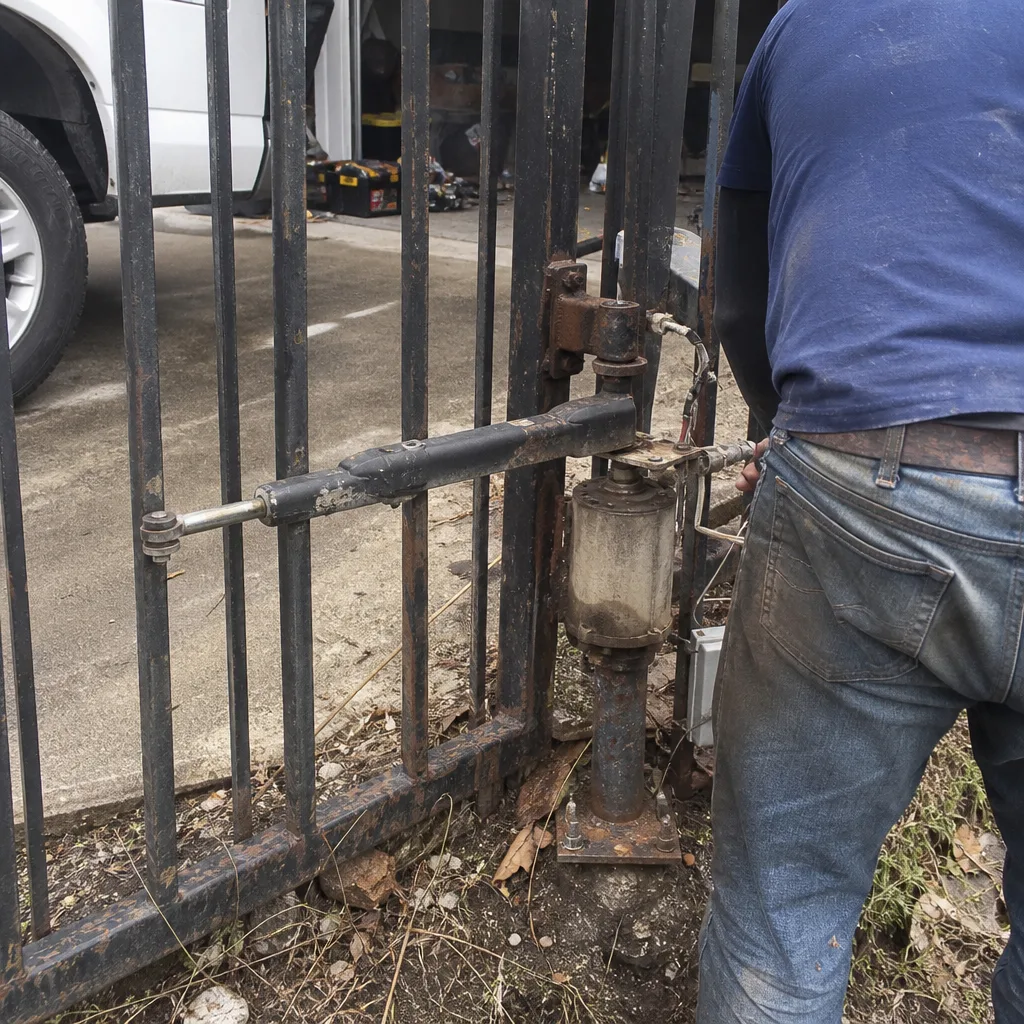 Before
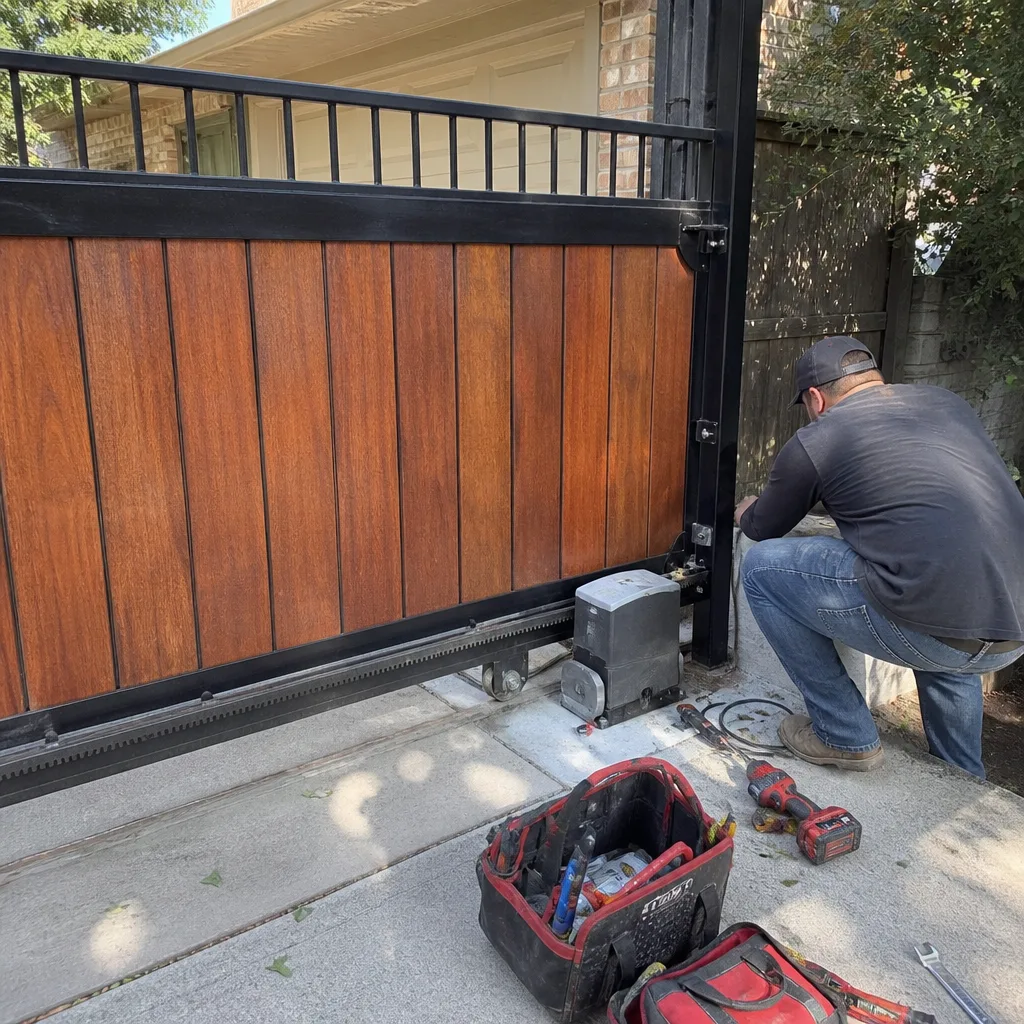 After
AfterDIY vs Professional Gate Repair: The Garland Homeowner’s Decision Guide
You can replace a gate photoeye yourself in twenty minutes. What you probably won’t do is photograph the original wiring connections, record the sensitivity setting, and log the alignment angle. That omission is what costs you money on the repair after next. In Garland, where our clay soil shifts seasonally and summer heat bakes gate electronics in ways the manufacturer manuals never anticipated, the difference between a repair that holds and a repair that haunts you often comes down to one thing: documentation, not skill. This guide walks through what a Garland homeowner can safely fix on a driveway gate, what genuinely requires a professional Gate Repair services, and how to make even a weekend DIY repair leave a paper trail that protects you for years.
Quick Answer
Most Garland homeowners can safely handle five DIY gate repairs: photoeye realignment, battery replacement, remote reprogramming, hinge lubrication, and basic limit switch visual checks. Anything involving gate post concrete, weld repair, operator board replacement, or motor disassembly should go to a professional, not because the work is impossible to learn, but because the liability and documentation requirements shift sharply once you touch structural or electrical components. The honest dividing line: if fixing it wrong creates a safety hazard for anyone walking through the gate, and if fixing it without a written record makes the next repair more expensive, call a Gate Repair in Garland specialist who leaves a photo log and written report.
Table of Contents
- The Five Repairs Garland Homeowners Can Safely Do Themselves
- The Hard Professional Boundary: Concrete, Welds, and Boards
- How to DIY Correctly: The Photo and Measurement Log
- The Hidden Cost of Undocumented DIY: A Garland Case Study
- The Decision Matrix: Five Questions That Sort Any Repair
- Why Garland Specifically Makes Gate Repair Different
- What Garland Gate Repairs Actually Cost
- Common Mistakes to Avoid
BeforeAfterThe Five Repairs Garland Homeowners Can Safely Do Themselves
We’re not gatekeeping. There are real, legitimate repairs any careful Garland homeowner can perform this weekend without voiding a warranty or creating a safety liability. The key is knowing which five they are, and knowing what “done correctly” means for each one. These are the tasks we tell every customer about, because a homeowner who handles the simple stuff confidently is a homeowner who calls us when it counts.
1. Photoeye Realignment
A photoeye (the infrared beam that stops the gate if something crosses the path) drifts out of alignment more often than any other component on a Garland gate. Clay soil shifts the posts slightly, wind gusts in spring knock the housing, and kids bump it with bikes. Realigning it is genuinely DIY-appropriate: loosen the mounting bracket screws, adjust the housing until the indicator light turns solid, tighten it back down. What most homeowners skip is photographing the original position before loosening anything, and photographing the final position after. That photo takes eight seconds and tells the next technician exactly where it was and where it is now.
2. Battery Replacement
Gate operators with battery backup systems, especially Mighty Mule and Ghost Controls units common in Garland’s older subdivisions, need battery replacement every two to three years. Texas heat shortens battery life measurably. Replacing a sealed lead-acid battery in a swing gate operator is a lift-out, set-in procedure that doesn’t require special tools. The mistake Garland homeowners make is not recording the battery date and part number. Write it on the battery with a marker, photograph the terminals before disconnecting, and you’ve created a service record that any future technician can read in ten seconds.
3. Remote Reprogramming
Buying a universal remote, clearing the receiver memory, and pairing new remotes is straightforward on most LiftMaster and FAAC units found in Garland. The operator’s receiver has a learn button, and the process takes under five minutes. Where DIY goes wrong is when the homeowner doesn’t write down which remotes were in the system before clearing everything, then discovers a family member’s remote no longer works. Make a quick list: remote one, remote two, keypad. Photograph the list. Then clear and reprogram.
4. Hinge Lubrication
Steel swing gates in Garland’s humidity need hinge lubrication twice a year. Use a dry silicone spray or white lithium grease, never WD-40 (it’s a solvent, not a lubricant, and it strips whatever protection was there). This is the most underrated DIY task: a gate that squeaks is telling you the hinge is wearing faster than it should. Lubricate, work the gate through its travel, and note the date. On a steel gate, also check for rust at the hinge weld points while you’re there. Surface rust you can address; deep pitting means the hinge needs professional attention.
5. Limit Switch Visual Checks
Before calling anyone about a gate that “stopped closing all the way” or “overswings when opening,” do a visual check of the limit switches. On most Garland residential operators, these are small mechanical switches or magnetic reed switches near the motor assembly. Look for obvious problems: cracked housings, disconnected wires, debris blocking the actuator. If you see something visibly broken, that’s useful information to share when you call. What you should not do is attempt to adjust the limit settings beyond a visual inspection unless you have the manufacturer’s manual open and understand what the adjustment actually changes. A misadjusted limit switch is the most common cause of a gate motor that burns out prematurely.
The Hard Professional Boundary: Concrete, Welds, and Boards
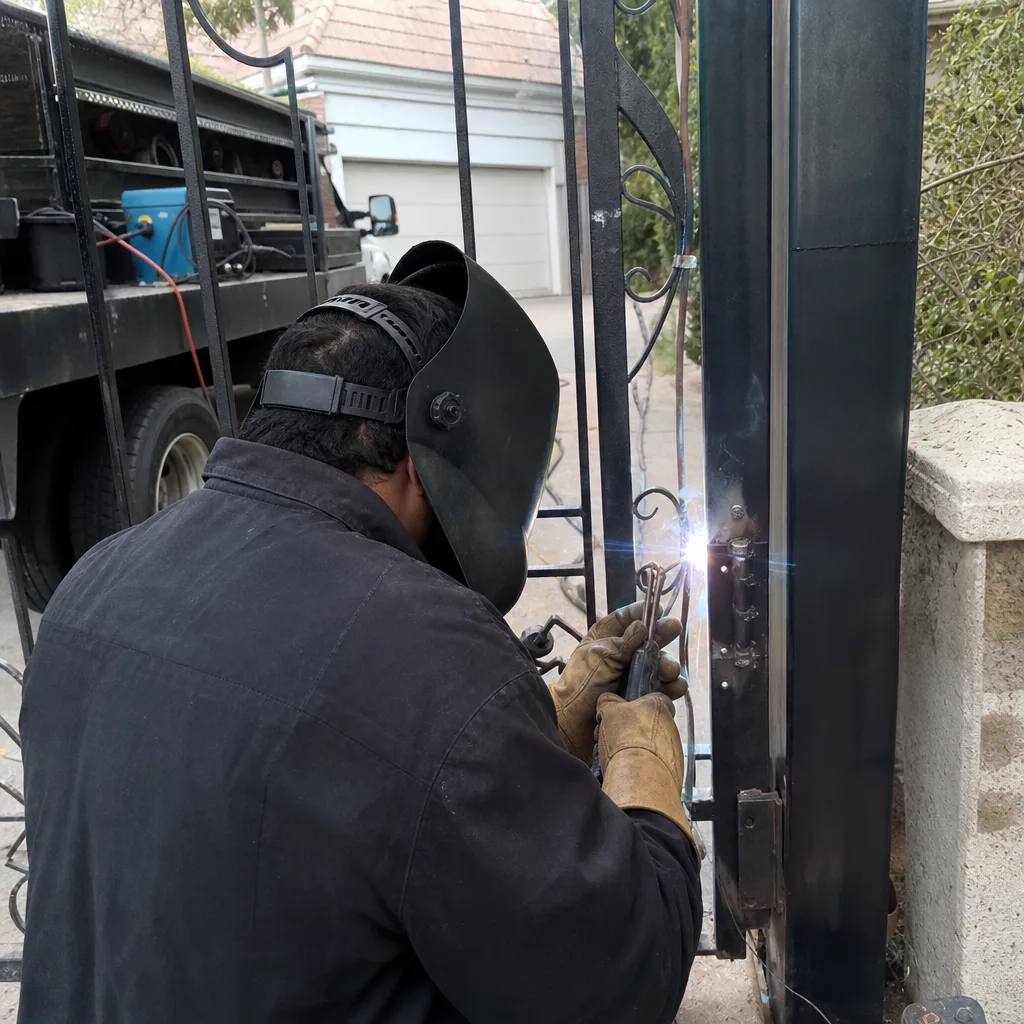
Some gate work is not DIY under any reasonable set of circumstances. Not because it’s secret knowledge, but because the failure modes are expensive and dangerous. In Garland, where our soil moves and our heat cycles are relentless, structural and electrical work carries liability that shifts with documentation. Here’s where we draw the line.
Gate Post Concrete Work
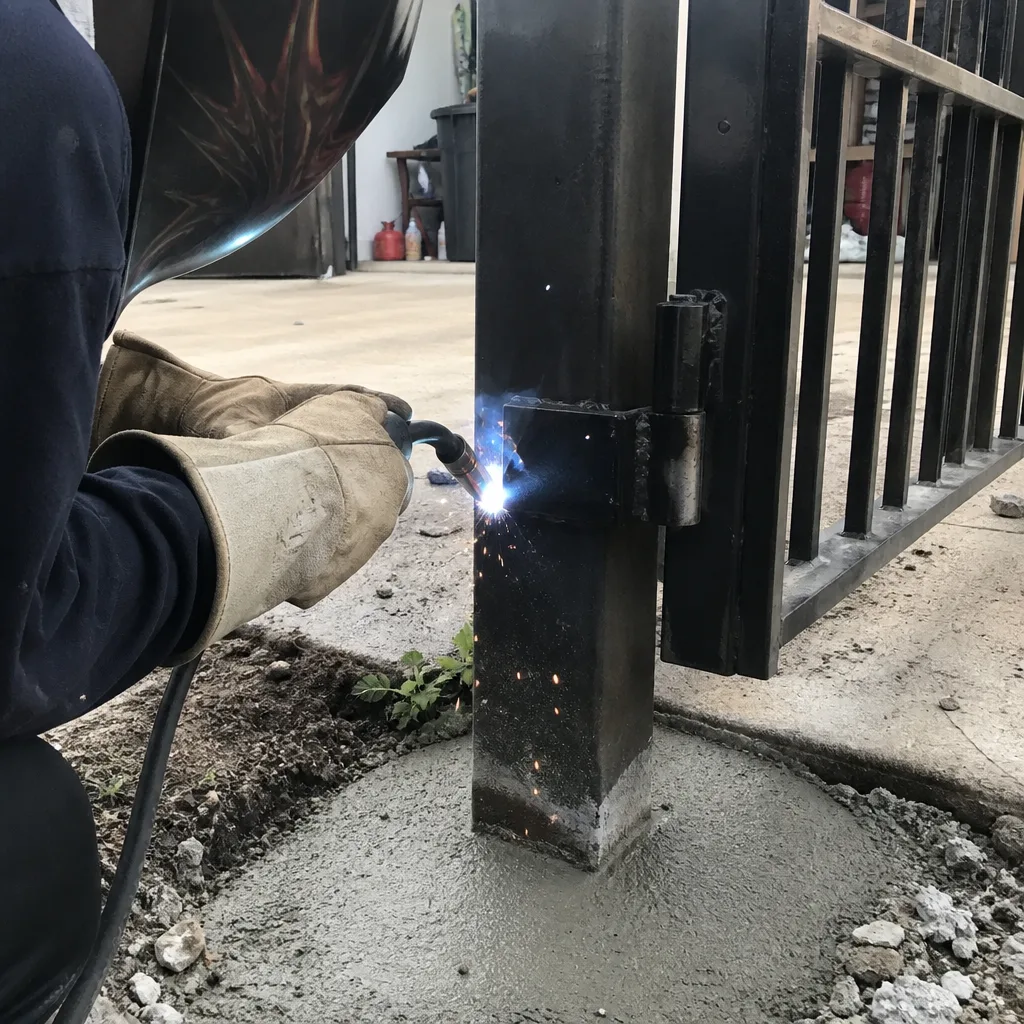
When a gate post leans, the fix is not “push it back and add a support strut.” The fix is digging out the old footing, resetting the post on fresh concrete, and letting it cure properly before re-hanging the gate. In Garland’s black clay soil, which expands and contracts dramatically with moisture changes, post footings need to be sized and poured correctly or the post will be leaning again in eighteen months. A homeowner doing this work has two outcomes: it holds for a while and fails slowly, or it fails immediately and the gate falls. Neither is acceptable for a structure weighing several hundred pounds that swings across a walkway children use. Professional gate post reset includes measuring the footing depth against the gate’s load, using the right concrete mix for expansive soil, and documenting the pour for warranty purposes.
Weld Repair
Wrought iron and steel gates in Garland’s older neighborhoods (think the established streets around downtown) frequently need weld repair at hinge points and decorative element connections. Welding is not a skill you acquire from a YouTube video on a Saturday afternoon. Bad welds on a gate look fine for weeks and then fail catastrophically. Beyond the safety issue, weld repair done by a professional comes with documentation: what was welded, with what process, at what points, photographed before and after. That record matters when a weld fails within the warranty period, because you can show exactly what was done.
Operator Board Replacement
When a gate operator’s control board fails, replacing it is a matter of disconnecting and reconnecting connectors in the right sequence. What makes this professional work is diagnosis and documentation. Boards fail for reasons: a shorted accessory wire, a voltage spike from a lightning storm, a capacitor that died and took the board with it. Replacing the board without finding the root cause means replacing it again. A professional board replacement includes testing the power supply under load, checking the accessory wiring for shorts, recording the old board’s part number and the new board’s revision, and photographing every connection before and after. That record is what turns a $400 board replacement into a one-time expense instead of a recurring one.
How to DIY Correctly: The Photo and Measurement Log
If you’re going to do any of the five DIY-safe repairs, do them like a technician. That means leaving a record that survives your own memory. Here’s the log format we use on professional jobs, adapted for homeowner use. The principle is simple: photograph what you see before you touch it, write down every number you can see, photograph what you changed, and file it somewhere you’ll actually find it again.
- Before photos. Take three minimum for any repair: wide shot of the gate system, close shot of the component you’re working on, and a shot of any wiring or connections you’ll be touching. Use your phone, make sure the photos are in focus, and keep the original files.
- Write down the readings. Every gate has numbers worth recording: the limit switch positions, the photoeye alignment angle, the sensitivity setting on the control board, the battery voltage if you have a multimeter, the gap between the gate and the post at the closed position. Write them down in a note on your phone or on paper.
- Label the changes. If you adjusted something, write down what you changed and by how much. “Photoeye adjusted from 3 degrees off vertical to level” is a useful record. “Fixed the gate” is not.
- After photos. Same three shots, after the repair. The before-and-after pair is the single most valuable thing you can create for whoever works on this gate next, whether that’s you in two years or a technician next month.
- File it where it can be found. A folder on your phone’s photo app called “Gate Repair” is fine. A printed page in a manila folder near the breaker box is better. The point is that the record exists and you know where it is.
This log takes ten minutes and turns an undocumented repair into a documented one. It’s the difference between the next technician spending an hour reverse-engineering what was done and spending ten minutes reading what was done. We’ve seen homeowners bring these logs to service calls, and we can confidently say it’s the single best thing a DIYer can do for their own future wallet. For Gate Repair Maintenance Checklist for Garland Homeowners, see our dedicated resource.
The Hidden Cost of Undocumented DIY: A Garland Case Study
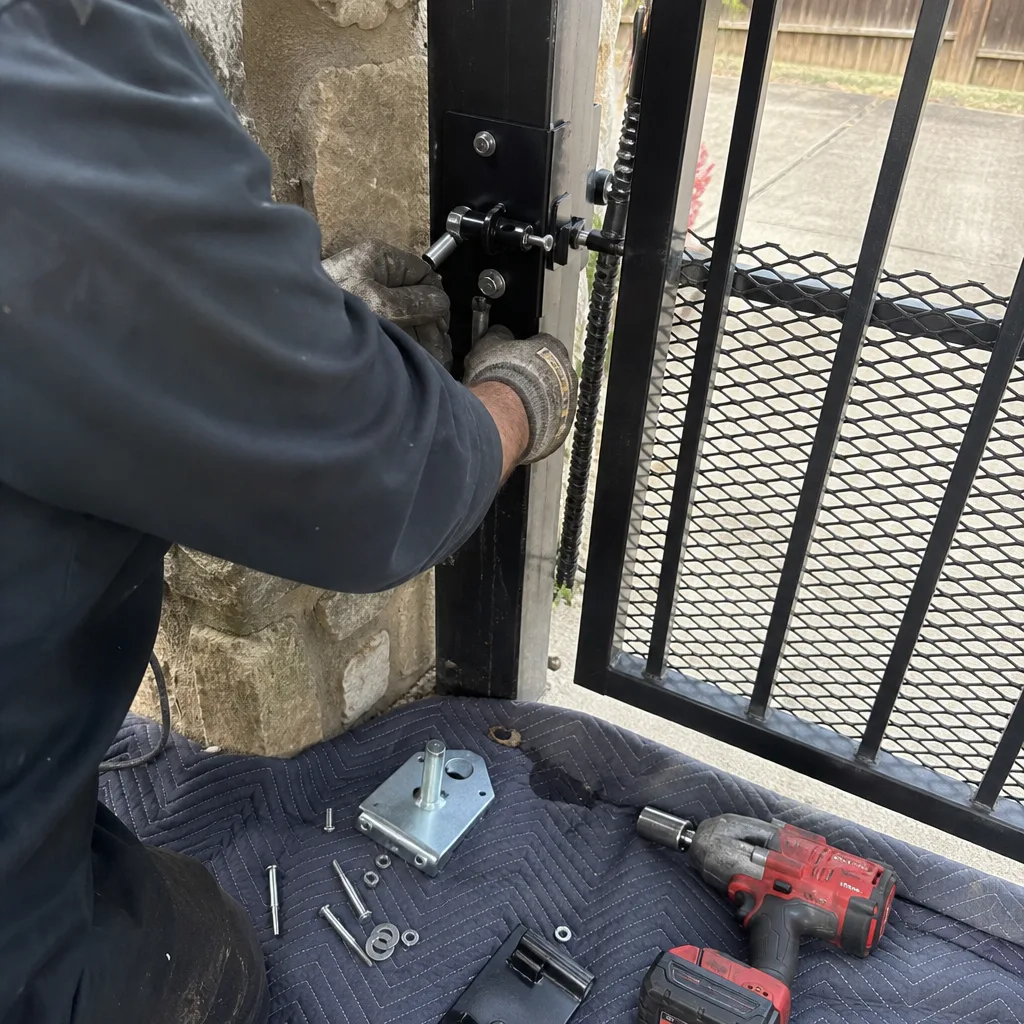
Here’s a real situation we encountered in Garland, on a property in the Firewheel area. The gate had three problems: it occasionally reversed direction mid-travel, the keypad worked intermittently, and the motor made a grinding sound on cold mornings. The homeowner was capable and had repaired each symptom as it appeared over two years. The first repair was a photoeye realignment. The second was a keypad wiring splice. The third was a limit switch adjustment.
Each repair worked at the time. Each repair was undocumented. By the time we arrived, the gate’s wiring had three different generations of electrical tape, two wire nuts of different sizes, and a limit switch that had been adjusted so aggressively that the motor was fighting its own travel stop on every cycle. The intermittent reversal was caused by a short in the keypad splice that only made contact when the gate moved and flexed the conduit. The grinding was the motor overheating because the limit switch was no longer cutting power at the end of travel.
What should have been a $180 service call turned into a full system trace: testing every wire run for continuity, mapping every connection, photographing the entire control enclosure, and rebuilding the wiring junction properly. The final invoice was over $700, not because the parts were expensive, but because three sequential undocumented repairs by different hands had created a system where no one, including the homeowner, could say with certainty what was original and what had been modified. The wire splice that caused the intermittent short was buried under two layers of tape and three years of assumptions.
The lesson isn’t that DIY is bad. It’s that DIY without a record makes the next repair harder. If that homeowner had photographed the original keypad wiring before splicing, the technician could have compared the original against the existing splice in five minutes. Instead, we spent an afternoon proving what should have been visible. Documentation is not bureaucratic overhead. It’s the cheapest insurance you can buy for a mechanical system that will, eventually, need service again.
The Decision Matrix: Five Questions That Sort Any Repair
When a gate problem appears, run it through these five questions before you pick up a tool or pick up the phone. The answers sort almost every repair into DIY or professional with surprising speed.
- What happens if this repair fails at 2 AM? If the failure mode is “the gate won’t open and I’m stuck” or “the gate falls on someone,” call a professional. If the failure mode is “the gate is loud” or “the gate opens slower than it used to,” DIY is reasonable. The standard: does failure create a safety hazard or a security breach? If yes, professional.
- Do I know which wires go where, and can I prove it? If you can’t identify every connection you’ll touch and document its current state before you touch it, you’re not ready. This isn’t about skill. It’s about the reality that gate wiring in Garland homes is often a generation old, modified by previous owners, and bears no resemblance to the manufacturer’s diagram. If you can’t photograph and label what’s there now, don’t start.
- Is the part I’m repairing structural? Hinges, posts, gate frames, and weld points are structural. If the component you’re about to work on is holding the gate up or holding it together, professional repair is the right call. Structural failures are sudden and they don’t give a warning. This is the line Vance Gate Repair Garland never crosses, even as a professional team: structural work gets documented engineering attention, not trial and error.
- Does this repair require a permit or inspection? In Garland, most residential gate repairs don’t require a permit. Gate installations and certain electrical work do. If you’re not sure, the city’s permitting office can tell you, and the answer matters more than most homeowners realize. An unpermitted electrical modification to a gate operator can complicate a future home sale. When in doubt, a Gate Installation in Garland professional can tell you whether the scope crosses the permitting line.
- If I do this myself, what does the next repair cost? This is the question almost nobody asks, and it’s the one that matters most. If your DIY repair fails in a way that makes the next technician’s job harder, you’ve saved money today and spent it twice over tomorrow. The documentation question is embedded here: a DIY repair with a photo log transfers cleanly to the next person. A DIY repair without a record doesn’t.
Why Garland Specifically Makes Gate Repair Different
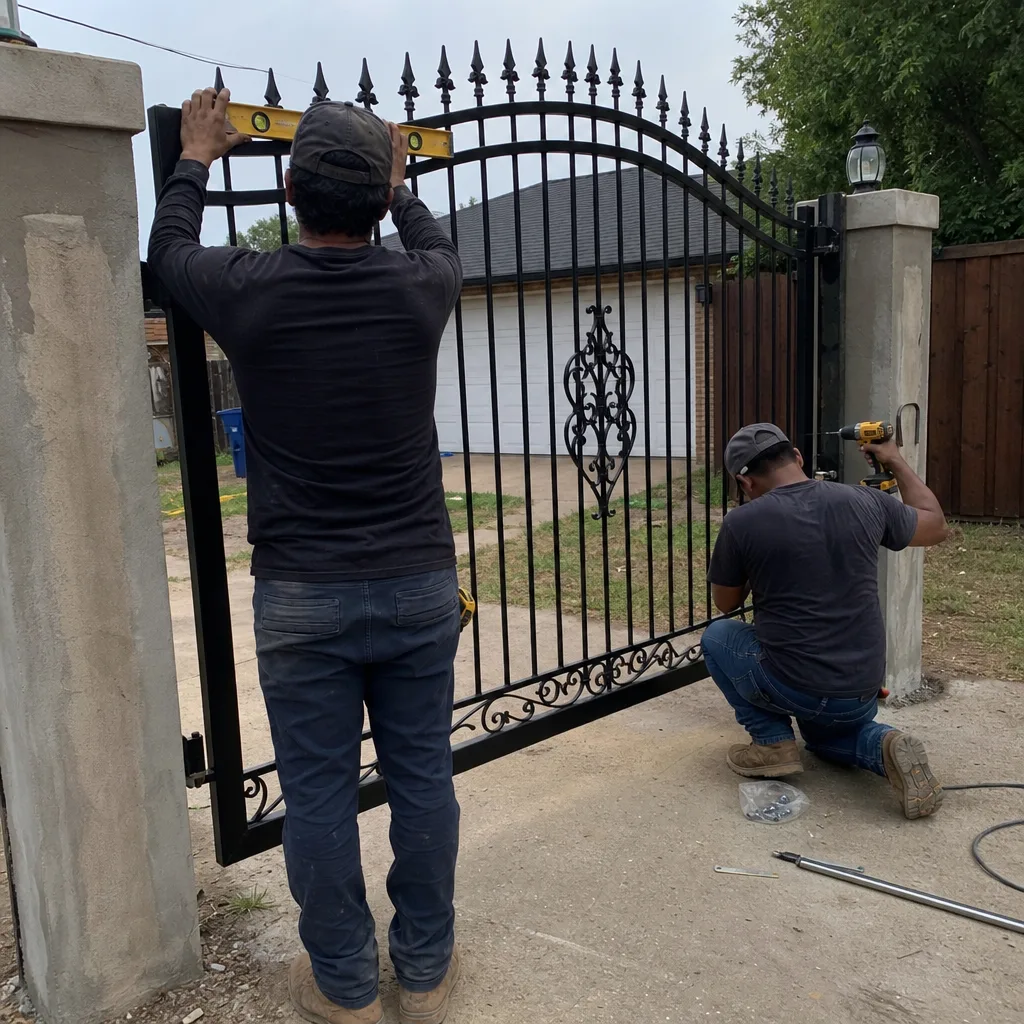
Clay soil. That’s the starting point for every serious conversation about gate repair in Garland, Texas. Our soil here in Garland is predominantly blackland prairie clay, which expands significantly when wet and contracts when dry. A gate post set in that soil without the right footing depth moves over time, which misaligns the gate’s travel path, stresses the hinges, and drags the photoeye out of alignment. It’s the reason photoeye realignment is the most common gate service call in Garland, and it’s the reason gate post concrete work is firmly in the professional column.
Summer heat is the second factor. Garland regularly sees extended stretches above 95 degrees, and gate operator electronics sit inside metal enclosures that trap heat. Control boards fail more often here than they do in cooler climates. Battery backups degrade faster. Lubricants break down sooner. A Garland homeowner should expect to service a gate system more frequently than a homeowner in, say, Seattle. It’s not a defect in your gate; it’s the environment working against the components.
Then there’s the freeze-thaw cycle. Garland doesn’t freeze often, but when it does, the moisture in gate mechanisms that expanded during the summer contracts suddenly. Hinges crack, weld points fail, and operators that were marginal in November give up entirely in February. The takeaway for Garland homeowners: twice-yearly gate maintenance isn’t optional, and spring (after the freeze season) and fall (after the heat season) are the right times to do it.
What Garland Gate Repairs Actually Cost
We price gate repair in writing before any work starts, and we publish these ranges because you should know what to expect before you call anyone in Garland. See our Gate Repair Cost Breakdown: The Garland Homeowner’s Reference for 2026 for detailed pricing. Here’s what residential gate work typically runs in this market:
- Photoeye realignment or replacement: $120 to $250, depending on whether it’s a realignment or a full component replacement, and whether the wire run needs repair.
- Remote reprogramming or replacement: $80 to $180, including the cost of a universal remote if the original is lost.
- Hinge lubrication and inspection with a documented report: $90 to $150 for a single swing gate, slightly more for double gates.
- Limit switch adjustment with documentation: $150 to $300, including the written record of the before-and-after positions.
- Control board replacement: $350 to $800, depending on the operator brand (LiftMaster and FAAC boards are at the lower end; BFT and Viking at the higher) and whether the root cause of the board failure needs separate repair.
- Gate post reset with new concrete: $450 to $1,200 per post, depending on the gate’s weight and whether the old footing needs to be excavated.
- Full system diagnostic with written report and photo log: $150 to $350, and we credit that fee toward the repair if you proceed with us.
These are Garland market ranges, not quotes. The price you’re quoted should be specific to your gate, your operator, and your situation. What matters is that the price is written, given to you before work starts, and doesn’t change unless the scope changes and you agree to that change in writing. If you’re getting quotes that feel vague or refuse to commit to paper, that’s a signal. The Vance Gate Repair Garland home service model is built on the principle that a price you can’t read is a price you can’t trust.
Common Mistakes to Avoid
- Using WD-40 on gate hinges. WD-40 is a solvent that strips existing lubrication and leaves metal exposed to Garland’s humidity. Use white lithium grease or dry silicone spray, and if you’re not sure which, ask.
- Adjusting the limit switch without recording the current setting. Every adjustment you make to a gate operator’s travel limits should be documented. If you move the limit by two degrees and then forget what it was, the next technician is guessing. In Garland’s heat, a misadjusted limit burns out motors faster than anything else.
- Assuming the photoeye is broken without checking alignment first. Most photoeye “failures” are alignment problems caused by soil movement. Check alignment before replacing anything. In Garland’s clay, photoeyes drift out of alignment constantly.
- Replacing the control board without finding the root cause. Boards fail for reasons. If you don’t address the short or the voltage issue that killed the first board, you’ll kill the second one too, and that’s a $400 mistake you didn’t need to make.
- Welding without proper documentation. If you’re one of the rare homeowners with actual welding skills, photograph the weld points before and after, write down the process and materials, and file it. A weld repair without a record is indistinguishable from a weld repair that never happened when the warranty claim comes up.
- Making wire splices without photographing the original connections. This is the mistake from the case study above. Ten seconds of photography saves an hour of tracing later. In a Garland home with a decade of previous owner modifications, the original wiring diagram is a document only you can create.
- Running a gate system on a failing battery “for a little longer.” A failing battery stresses the entire operator and shortens the life of the control board. Garland’s heat already works against your battery’s lifespan. Replace it when it shows signs of weakness, not when it’s completely dead.
When to Call a Professional
Call a professional when the repair involves gate post concrete, weld repair, control board replacement, motor disassembly, or any electrical work where you can’t trace the wiring with certainty. Call a professional when the failure mode is a safety hazard or a security breach. Call a professional when the gate system is old enough that you don’t know its full modification history. And call a professional when the documentation burden is something you’d rather not carry, because the record itself is part of what you’re paying for. Gate Motor & Opener in Garland service with a written price and a photo log isn’t an upsell. It’s the difference between a repair you can prove and a repair you can only describe. Vance Gate Repair Garland offers free estimates in Garland - call (469) 273-6254.
Frequently Asked Questions
Yes, photoeye realignment is a DIY-safe repair for most Garland homeowners. The process is simple: loosen the bracket, adjust until the indicator light is solid, tighten back down. The mistake to avoid is skipping the documentation: photograph the original position and the final position, and note the alignment angle if you can measure it. Without that record, the repair is half-finished from a maintenance standpoint.
Most swing-gate motor replacements in Garland run between $400 and $900, depending on the brand (Mighty Mule at the lower end, FAAC and BFT at the higher), whether the arm bracket is intact, and whether the existing wiring can be reused. A full operator replacement including the control board and a new motor typically runs $900 to $1,800 installed. The exact price should be written and given to you before any work begins. Call (469) 273-6254 for a free estimate with a written quote.
We work on nine major gate automation brands: LiftMaster, FAAC, BFT, Linear, Viking, Ghost Controls, DoorKing, Elite, and Mighty Mule. That matters because it means we repair the operator already on your property rather than steering you toward a replacement. Most Garland homes have one of these brands installed, and a professional should be able to work on all of them.
A limit switch adjustment itself is not inherently dangerous, but doing it without understanding the manufacturer’s intended procedure can create a dangerous situation where the gate motor runs past its travel stop and overheats or damages the mechanical components. In Garland’s summer heat, an overheating gate motor is a fire risk in extreme cases. If you’re going to attempt it, have the manual open and photograph the current setting before you change anything. If you’re not confident, call a professional.
Most residential gate repairs in Garland do not require a permit. Gate installations on new footings and certain electrical modifications to gate operators may. If you’re unsure about your specific situation, the city’s permitting department can tell you, or a professional installer can check on your behalf as part of the estimate process.
At minimum, document these five things: before photos of the component and its wiring, any readings or numbers you can see (limit switch settings, photoeye angle, battery voltage), the exact changes you made, after photos of the same components, and the date. File these somewhere you’ll actually look. Call (469) 273-6254 if you want guidance on what to document for a specific repair - advice is free.
The Bottom Line
The DIY-versus-professional question for gate repair in Garland is not about whether you’re skilled enough. It’s about whether the repair leaves a record, whether the failure mode is dangerous, and whether doing it right requires tools and judgment that go beyond what a weekend can provide. Five tasks are genuinely DIY-safe for careful homeowners. Everything involving structure, electrical boards, or motor internals should go to a professional, and the documentation that professional leaves behind is part of what you’re paying for. In a city where clay soil shifts gates out of alignment seasonally and summer heat kills electronics on a schedule, the cheapest gate repair is the one you only need to do once. That’s what the written record is for. That’s what Garland deserves.
Written by Adrian Vance, Owner at Vance Gate Repair Garland, serving Garland since 2014.