
Last updated September 20, 2026
Free on-site gate assessment - hinges, posts, and your LiftMaster or Nice gate operator checked before anything is quoted
The assessment is free and the quote is the invoice.

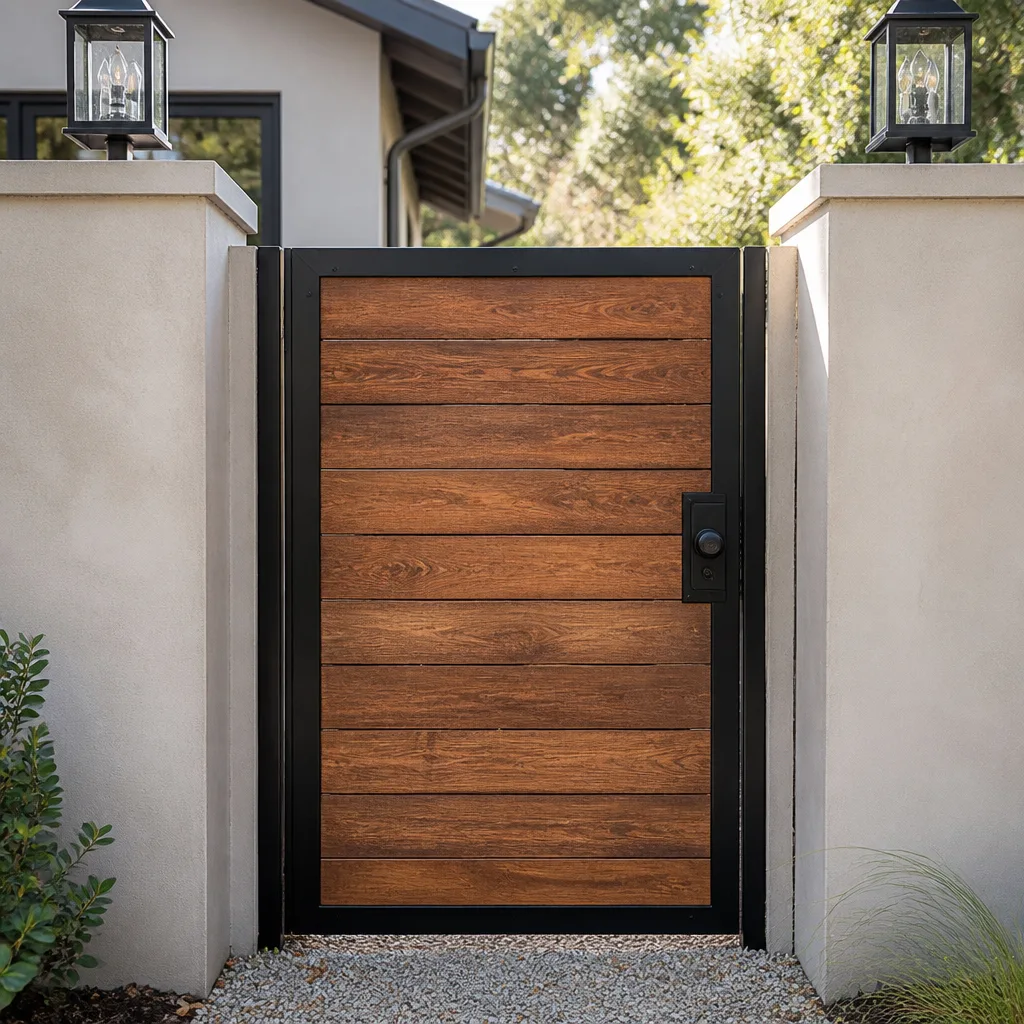
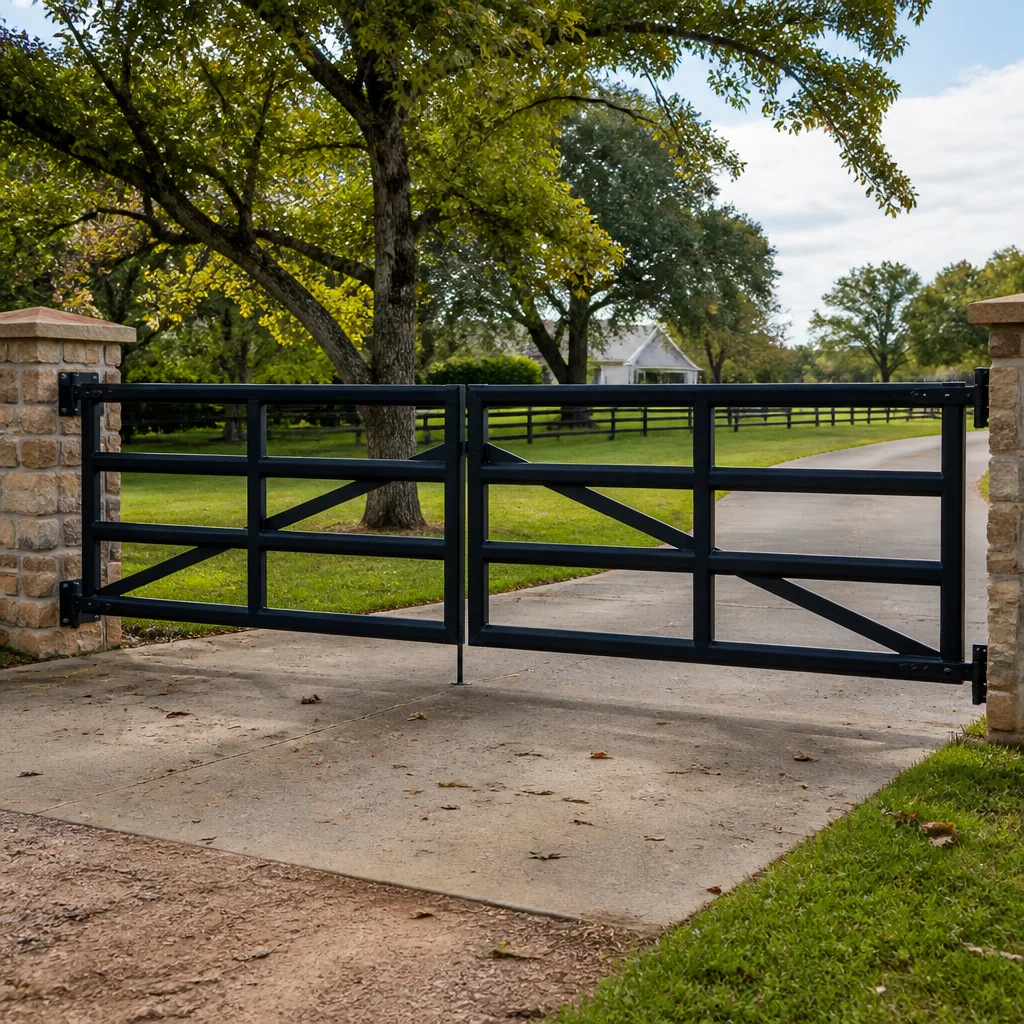
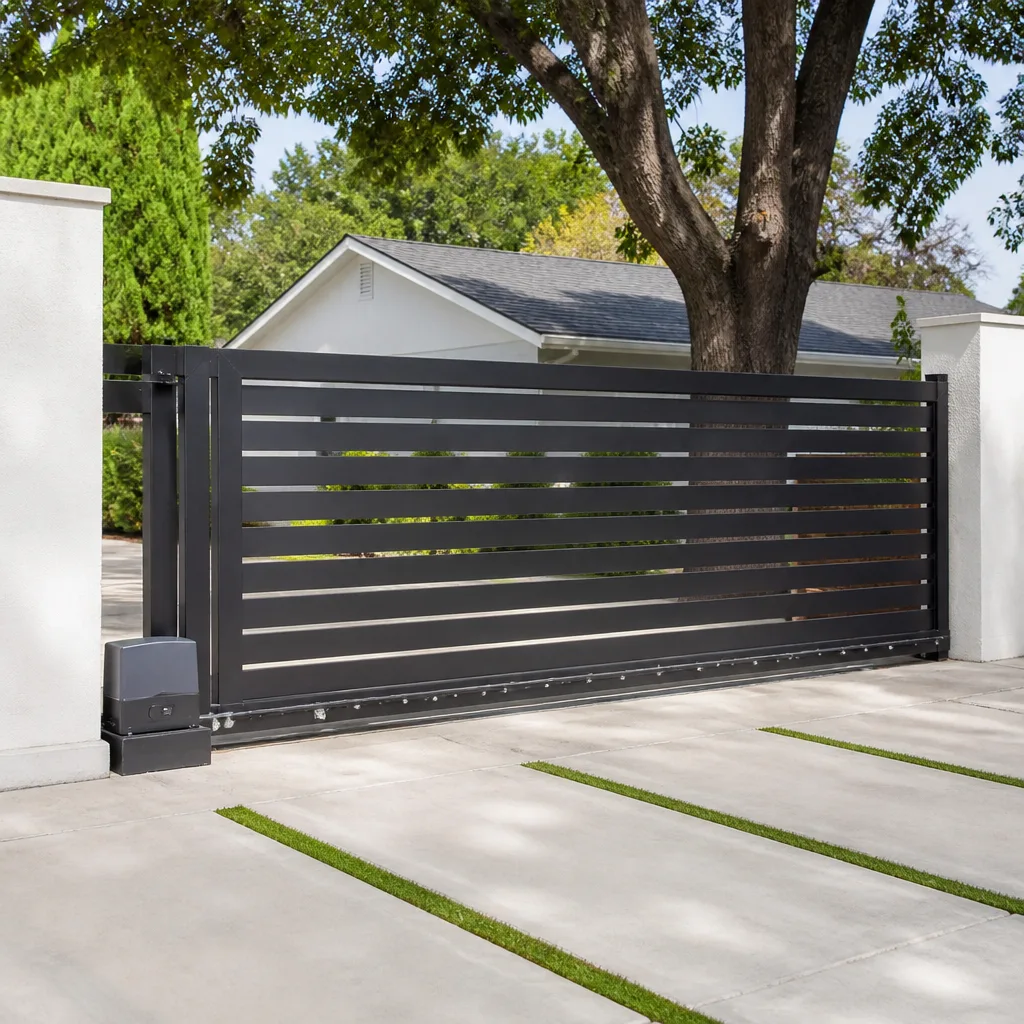
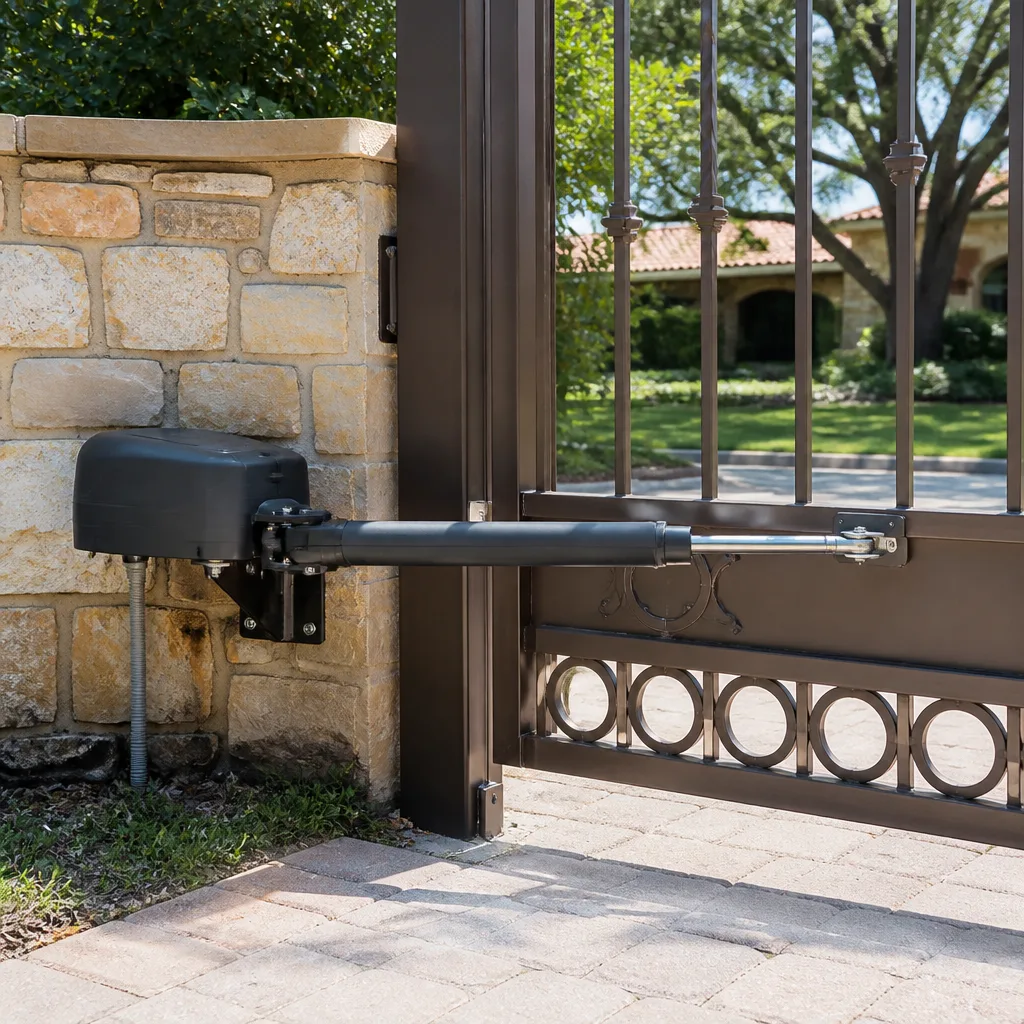
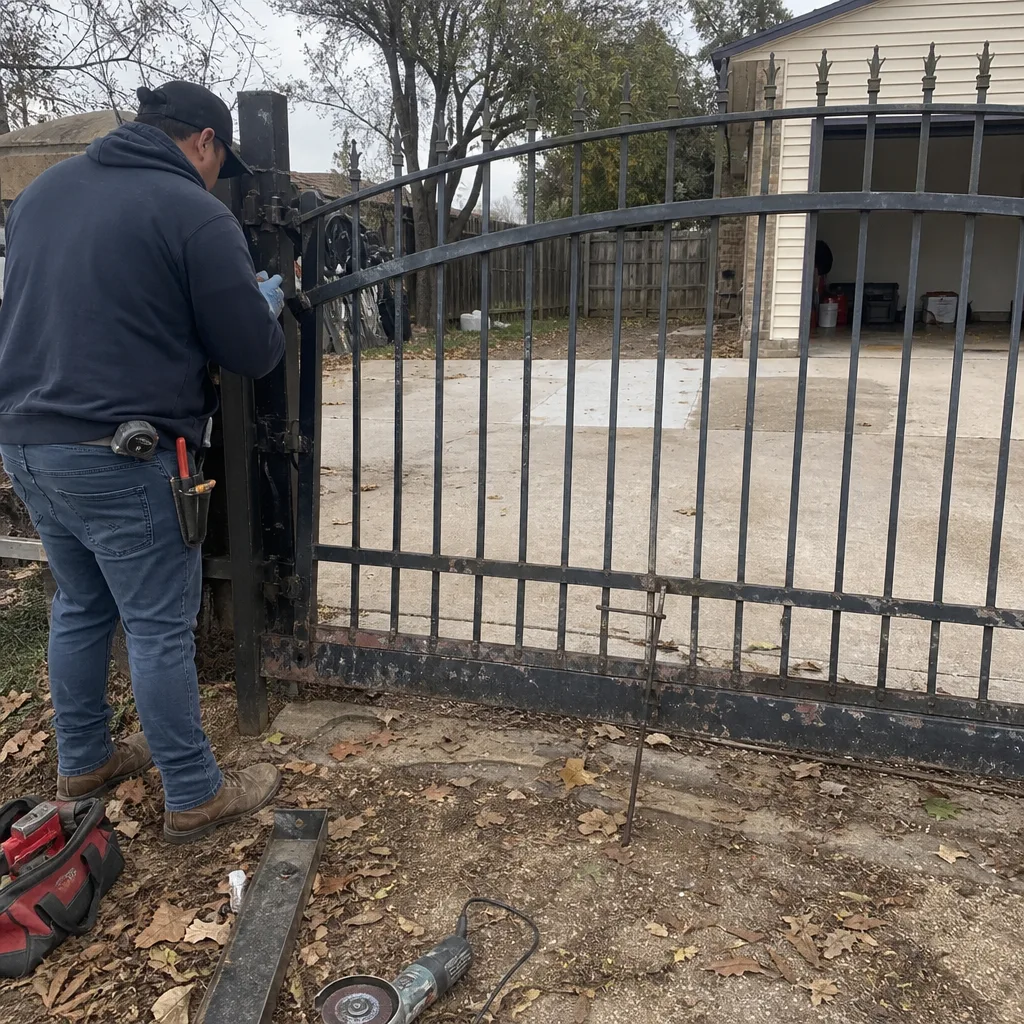 Before
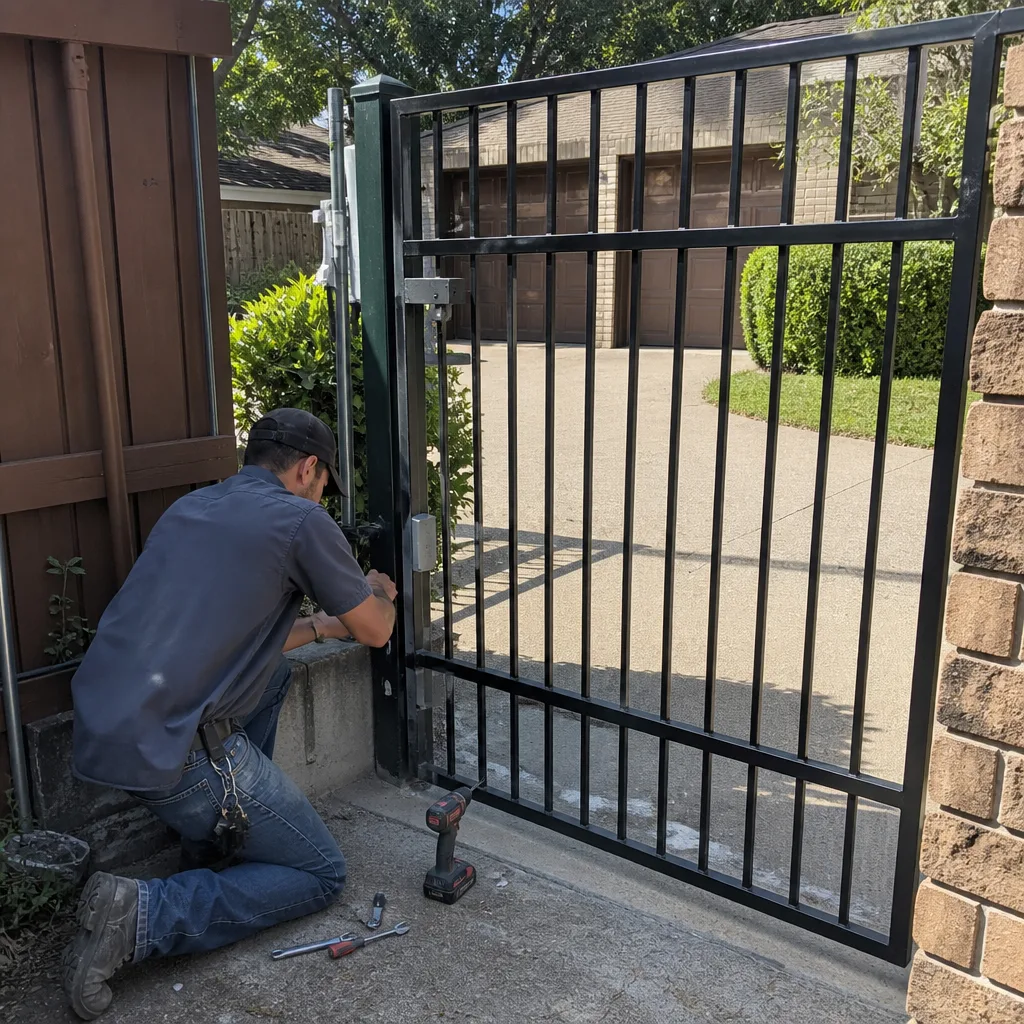 After
After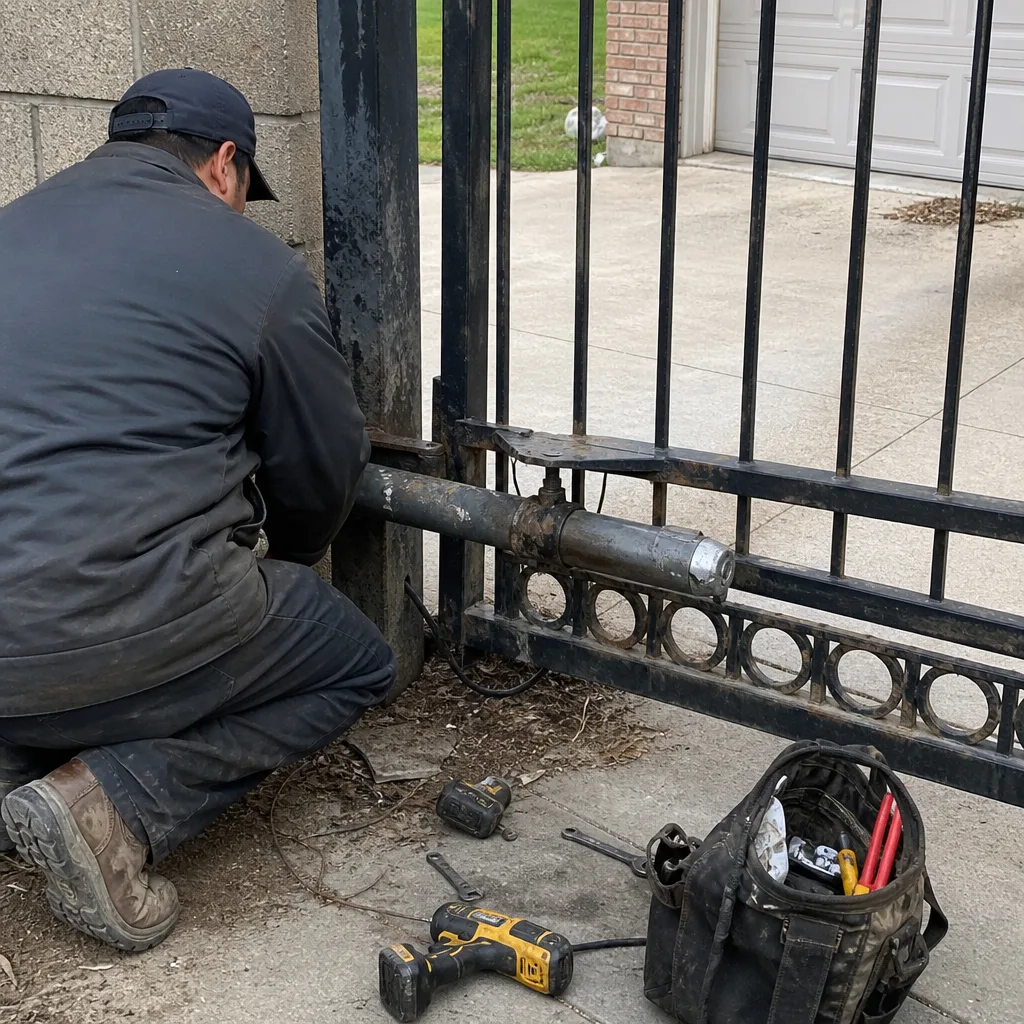 Before
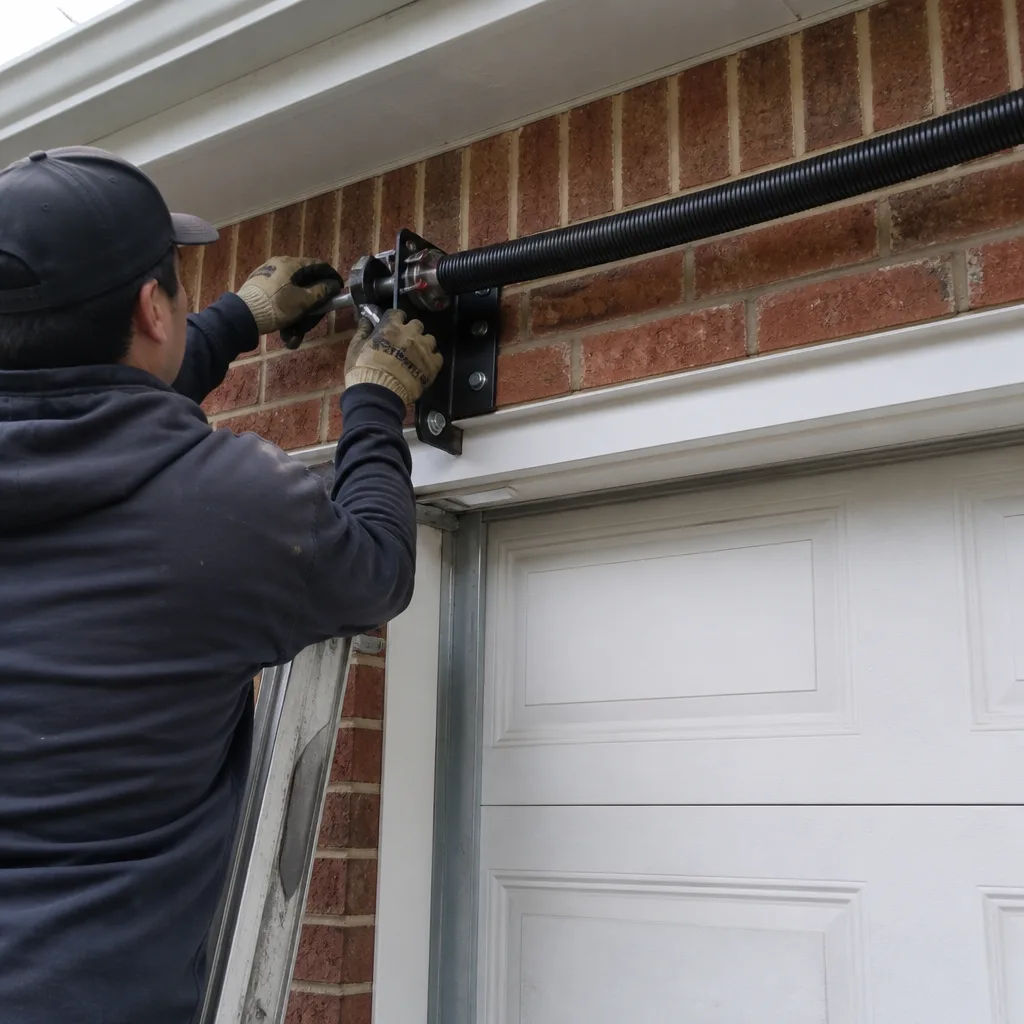 After
After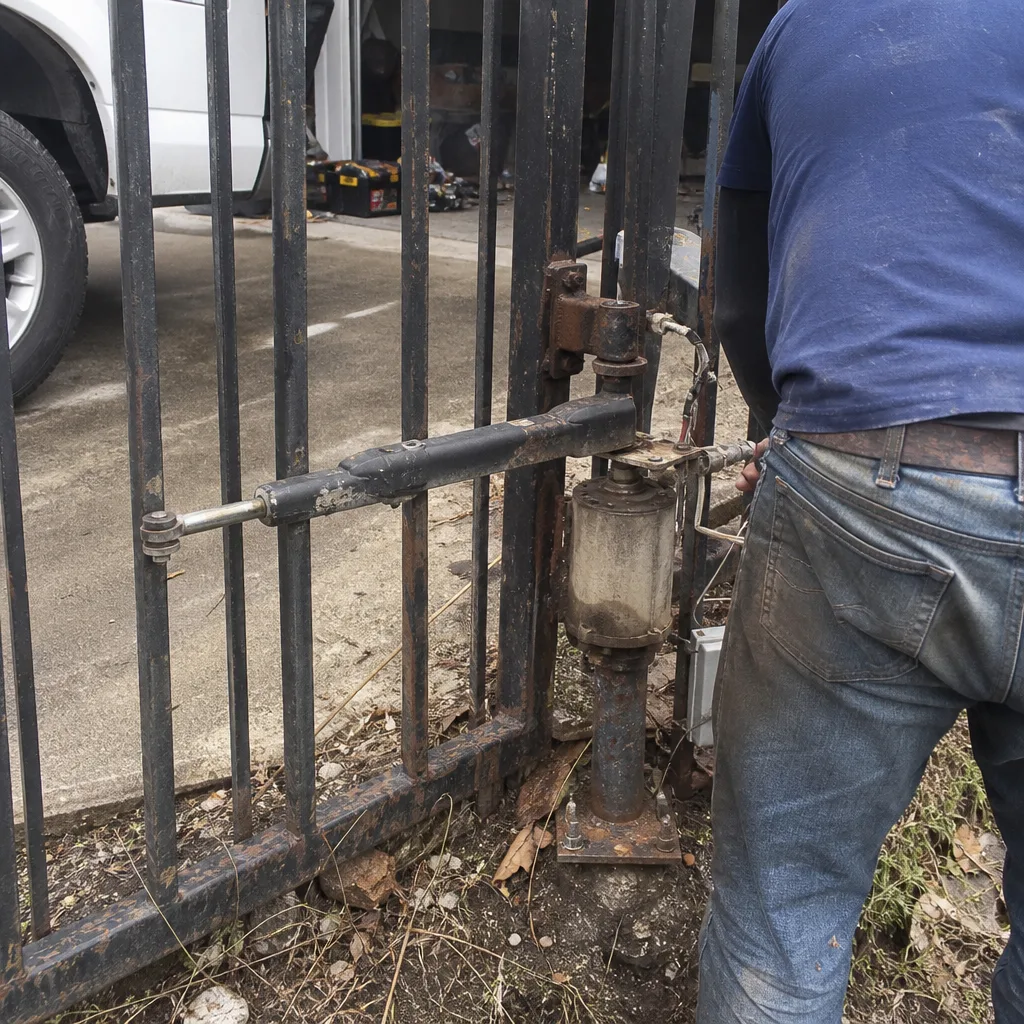 Before
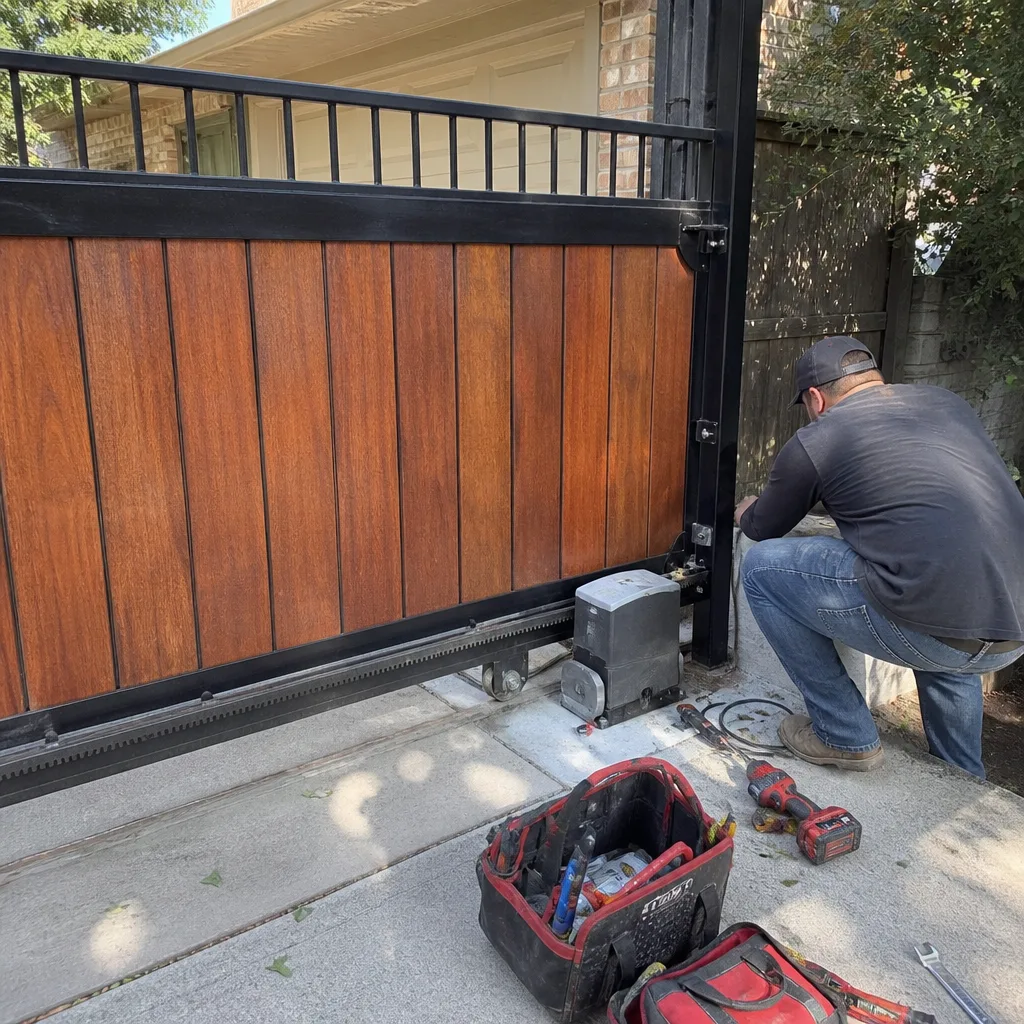 After
AfterGate Repair Maintenance Checklist for Garland Homeowners
Here’s the thing most gate maintenance guides won’t tell you: a gate can look perfectly fine while it’s actively failing. The hinge pin that’s worn three millimeters past spec doesn’t announce itself. It just leans a little more each month until the post cracks. In Garland, where clay soil expands and contracts through every wet-dry cycle, that process accelerates. This guide and our Gate Repair Warning Signs: A Garland Homeowner’s Reference Guide give you the actual numbers to record – not just a list of things to glance at – so you can catch drift before it becomes a four-figure repair. You’ll learn what to measure, what the readings should be, and how to log them so any future technician can see exactly what changed.
Quick Answer
A gate maintenance checklist for Garland homeowners should focus on recording baseline measurements – hinge-pin play, limit-switch positions, and battery voltage – twice a year, with additional checks after major storms. Without numeric baselines, you’re not maintaining; you’re just looking. The most critical Garland-specific tasks are post-storm ground inspections for soil heave and pre-summer capacitor load testing.
Table of Contents
- Why Measurement Baselines Matter More Than Task Lists
- Hinge-Pin Play: The Number You’re Actually Looking For
- Gate Sag: When Post Repair Stops Being Optional
- Logging Limit-Switch Positions as a Numeric Baseline
- Battery Voltage Ranges for Solar-Assisted Operators
- Garland-Specific Climate Tasks: Soil Heave and Capacitor Load
- Which Maintenance Tasks Void Operator Warranties
- Building a Photo and Paper Log a Future Technician Can Actually Use
- Common Mistakes to Avoid
- When to Call a Professional
- Frequently Asked Questions
- The Bottom Line
BeforeAfterWhy Measurement Baselines Matter More Than Task Lists
Every maintenance checklist for Gate Repair services says “check the hinges.” None of them tell you what number you’re looking for. That’s a problem because checking without a reference point isn’t checking. It’s glancing. A hinge pin that has 1/16 inch of vertical play today might feel fine. But if it was 1/32 inch six months ago, you’ve just caught early wear. Without the baseline, you’d wait until the gate scrapes the ground or the post cracks before noticing anything.
In our experience across Garland and the surrounding metro, homeowners who keep numeric baselines catch problems roughly four to six months earlier than those who don’t. That’s the difference between a $45 hinge pin replacement and a $1,800 post reset. The principle applies to every moving component: record the value, not just the condition. Write down the limit-switch position. Note the exact battery float voltage. Measure the gap between gate and post at three points. Those numbers are your early warning system.
The first maintenance pass is the most important because that’s when you establish the baseline. After a professional gate repair in Garland, ask the technician to record all adjustment positions before they leave. The best shops already do this as part of their documentation habit. From there, your twice-yearly checks are comparisons, not inspections. You’re looking for change, not just problems.
Here’s what a baseline pass should capture, at minimum:
- Hinge-pin vertical play in inches or millimeters, measured with the gate in the closed position
- Gate-to-post gap at top, middle, and bottom
- Limit-switch open and close positions, in degrees or turns from closed
- Battery float voltage for solar-assisted operators, measured mid-afternoon on a sunny day
- Force setting on the operator, if your unit displays it numerically
- Photo-eye alignment height from ground, in inches
Store these readings in a simple log, whether that’s a laminated card in the garage or a note on your phone with photos attached. The format matters less than the consistency. Six months from now, when you’re staring at a reading that’s drifted, you’ll know exactly what to do next.
Hinge-Pin Play: The Number You’re Actually Looking For
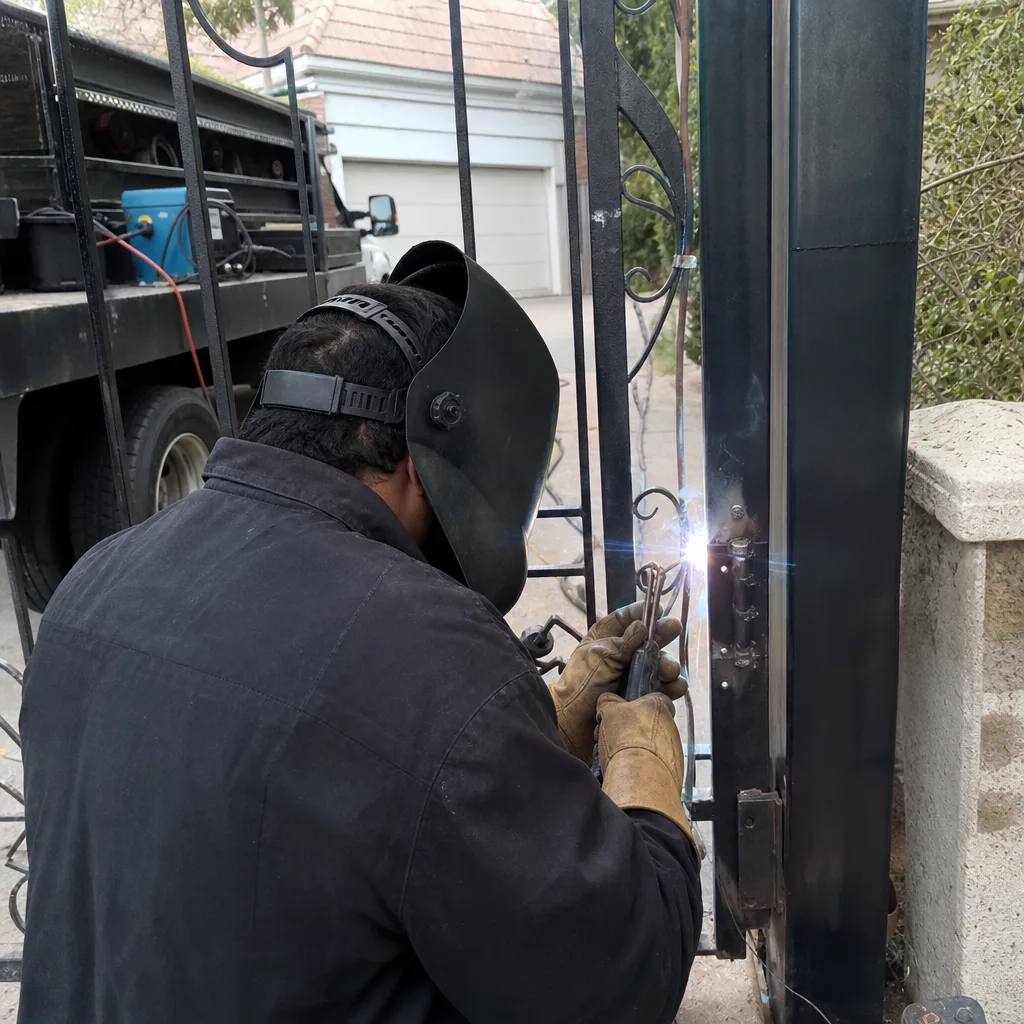
Hinge-pin play is the vertical movement you feel when you lift the gate slightly at the latch end with hinges still attached. It’s the single best indicator of hinge wear on a swing gate. The tolerance is simple: anything under 1/8 inch (about 3mm) is normal for a residential gate under 400 pounds. Between 1/8 and 1/4 inch, you should plan for hinge replacement within the next six months. Over 1/4 inch, you need hinge work now – and you should check the post for cracking while you’re at it.
To measure it properly, you don’t need a dial indicator. A standard ruler or a set of feeler gauges works fine. Lift the gate at the latch side. Hold the ruler vertically against the post where the hinge bracket bolts in. The movement you see is your number. Write it down to the nearest 1/16 inch. If you can’t measure precisely because the gate is heavy, a simple “three stacked dimes of movement” note in your log is still workable, as long as you use the same reference method every time.
What causes hinge-pin play in Garland specifically? Two things dominate. First, the same clay soil that heaves sidewalks also shifts gate posts. When a post leans even a degree or two, the hinge alignment changes and the pin takes uneven load, accelerating wear on one side. Second, wind. Garland sees sustained winds above 20 mph regularly during spring storm season. A 300-pound gate panel acts like a sail, and every gust works the hinge pin in its barrel.
Changing a hinge pin is straightforward work, but only if the post is still sound. If you catch pin play at 3/16 inch, a replacement hinge kit runs $40 to $120 depending on the gate’s weight and the hinge style. Wait until the post cracks and you’re into post reset territory, which typically costs between $800 and $2,500 in the Garland market depending on post size, soil condition, and whether the operator has to be removed and reinstalled.
Gate Sag: When Post Repair Stops Being Optional
Sag is the silent killer of swing gates, and the threshold where it becomes a structural problem is more precise than most homeowners expect. A gate that has sagged more than 1/2 inch at the latch end, measured against the latch post while closed, is no longer a simple hinge adjustment. It’s a post problem. By the time you see 3/4 inch of sag, the hinge-side post has usually moved enough that shimming hinges just masks the underlying issue.
Here’s the measurement protocol we use: close the gate fully. Measure the distance from the gate’s top rail to the ground at the hinge end. Then measure it again at the latch end. The difference is your sag reading. Write it down. If the difference grows by more than 1/4 inch between maintenance passes, something structural is moving – either the post is leaning, the hinges are compressing, or the gate frame itself is racking.
In Garland’s soil conditions, post movement is more common than frame racking. The clay expands during wet periods and shrinks during drought. Concreted posts that were plumb when installed can shift a full inch or more through repeated cycles. That’s why a post-storm ground inspection matters: after heavy rain, check for a visible gap between the soil and the concrete footing around gate posts. A gap wider than a pencil means water has created a channel and the post is sitting in loosened soil.
The preventative move is a steel post with a concrete footing below the frost line, which in North Texas is only about 10 inches, so a 24-inch footing is typically more than adequate. If your posts are wood set in dirt without concrete, sag is not a question of if but when. Budget for post replacement before the gate starts dragging, because once it drags, the operator motor is fighting the added friction and the wear cascades into the gearbox.
Logging Limit-Switch Positions as a Numeric Baseline
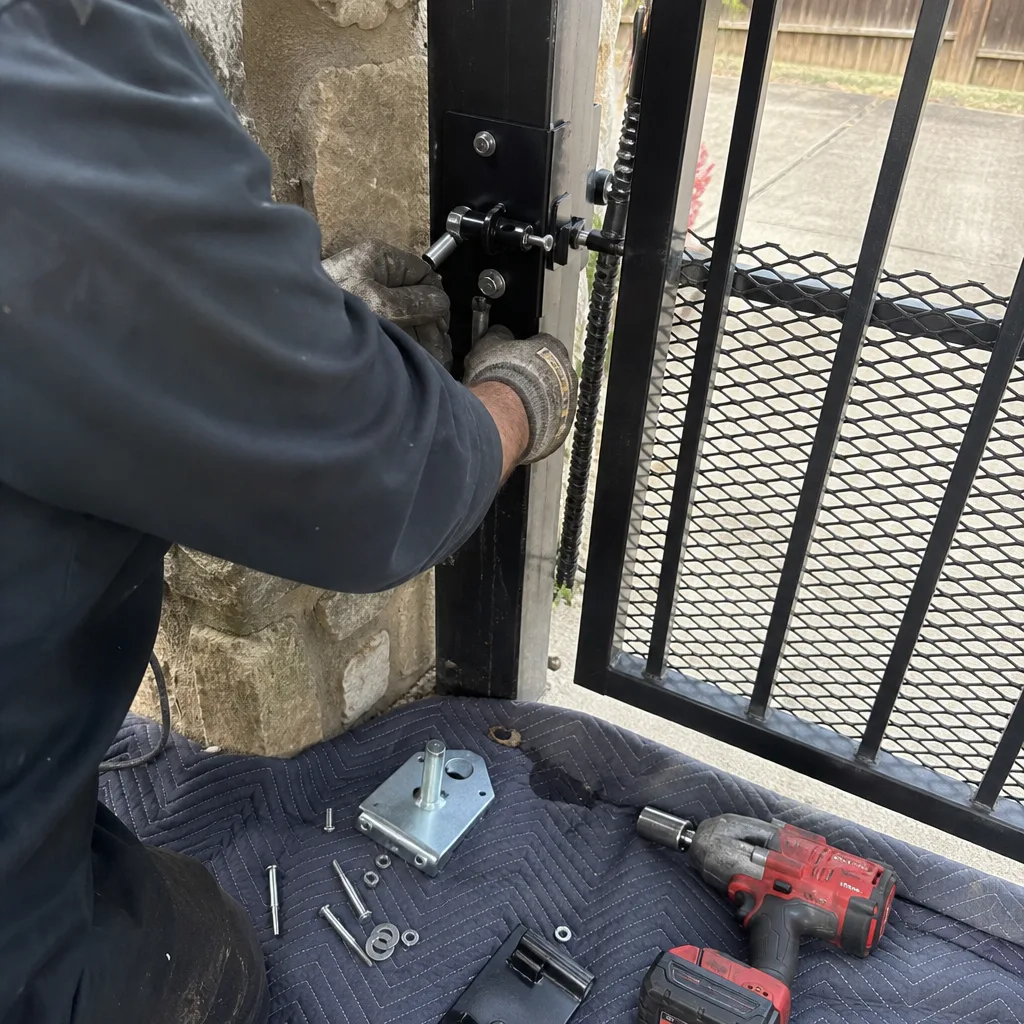
Limit switches tell your gate operator when to stop moving. They’re the reason the gate opens to exactly the right point and closes without slamming into the latch post. On most residential operators, the limit switch positions are set with mechanical cams or magnetic sensors, and each position corresponds to a number on the control board or a physical cam position you can mark with a paint pen.
Here’s how to establish a numeric baseline: open the gate fully. Note where the limit switch sits. Count the turns of the adjustment screw from fully closed to the point where the switch trips, or record the reading on the control board display if your operator has one. Write that number down. Do the same for the close limit. The exact method depends on your operator brand, but every residential operator we service – including LiftMaster, FAAC, BFT, and Linear – has some way to quantify limit position, even if it’s just marking the cam with a Sharpie and photographing it.
Why log this? Because limit-switch drift is the most common cause of a gate that starts stopping short of fully open, or worse, keeps pressing against the closed position after the gate has already latched. That pressing is what burns out motors and strips gears. In our experience, we’ve seen a FAAC swing operator with the close limit set 12 degrees past travel; the gate had been grinding against the post for months and the homeowner only noticed when the gearbox started whining. A twelve-degree drift is easy to miss by eye but obvious on a log.
Twice a year, record your limit positions the same way and compare. If the close limit has moved more than a few degrees without you adjusting it, something is shifting – usually a worn cam, a loose sensor bracket, or a control board beginning to lose calibration. Catching that early means a $60 sensor replacement instead of a $400 gearbox. If you’re not comfortable opening the control box, a gate motor and opener service in Garland will log these readings for you as part of a standard maintenance visit, and you should ask for the written values.
Battery Voltage Ranges for Solar-Assisted Operators
Solar-assisted gate operators are popular in Garland because they avoid a long power run to the gate, especially on larger lots. But the battery is the weak point, and most homeowners never check it until the gate stops opening one afternoon. The fix is simple: measure voltage twice a year and know what’s normal. For a 12-volt system, which is standard on residential solar operators, a healthy battery floats at 13.2 to 14.4 volts during the charging phase on a sunny day. A battery sitting at 12.4 volts or lower after a full day of sun is failing, and anything below 11.8 volts means the battery is essentially dead and the solar panel alone can’t keep up.
The measurement method is straightforward: a digital multimeter set to DC volts, probes on the battery terminals, taken mid-afternoon when the panel has had several hours of full sun. Record the value in your log. If it’s dropped more than half a volt from your baseline, plan for a replacement battery within the next few months. Most residential solar gate batteries last between two and five years in North Texas heat. Heat accelerates chemical degradation, which is why Garland batteries tend to fail on the shorter end of that range compared to cooler climates.
One nuance most checklists miss: solar panel efficiency matters as much as voltage. A dirty panel can lose 20 to 30 percent of its output. Wipe the panel with a damp cloth every spring, and check the tilt angle hasn’t shifted. A panel that’s tilted too flat collects debris; too steep and it loses sun angle during winter months. If your operator runs on battery far more than it runs on solar, you’ll see the voltage decline across the week, and the battery will fail sooner. For solar-assisted LiftMaster and BFT units, the battery disconnect is usually in the lower compartment of the operator housing – but don’t open it if you’re unsure what to look for; the capacitors in there hold a charge even with the operator unplugged.
Garland-Specific Climate Tasks: Soil Heave and Capacitor Load
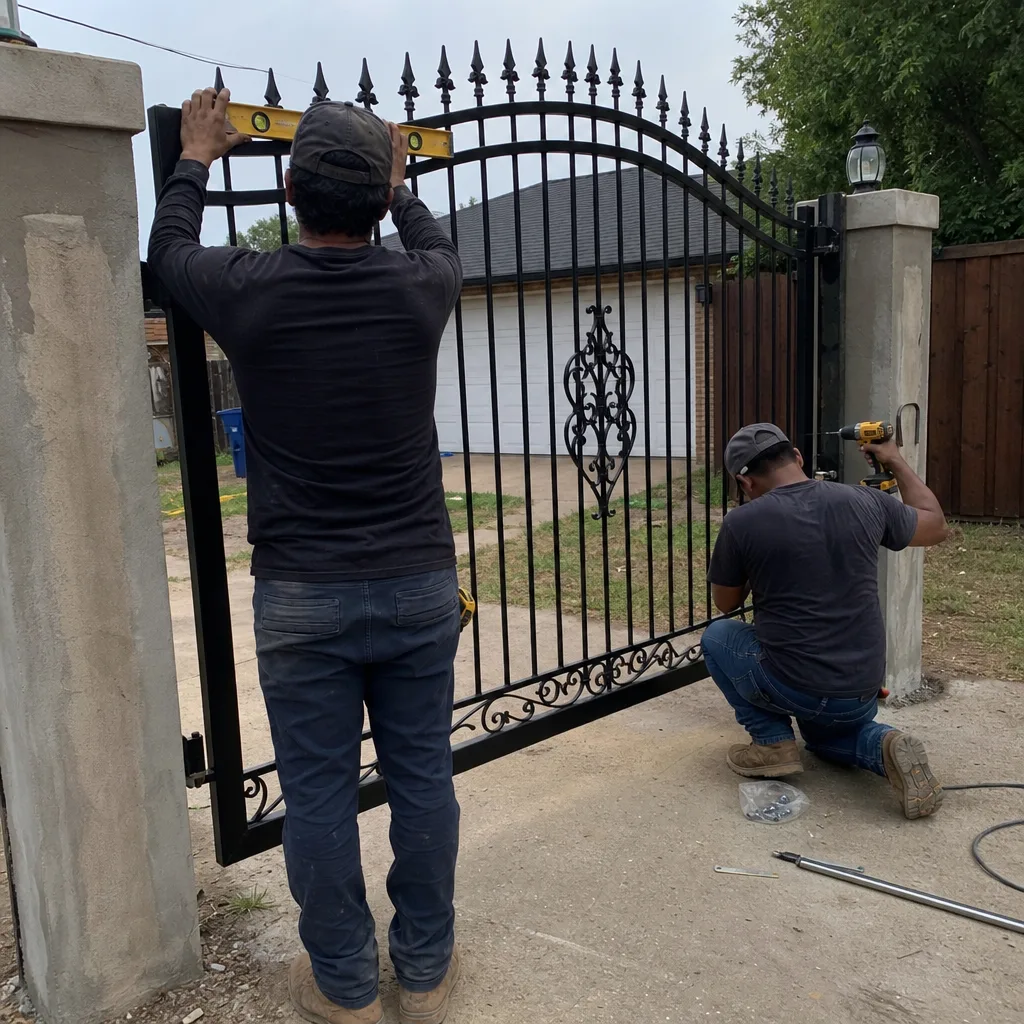
Garland’s climate creates two gate problems most national checklists ignore entirely. The first is soil heave from the clay under your posts. The second is capacitor degradation from heat. Both are measurable, and both should be on your maintenance calendar.
Soil heave happens when expansive clay absorbs water and swells. A gate post set in a concrete footing can be lifted or tilted by swelling soil underneath the footing. This is why a post-storm inspection matters so much in Garland. After a heavy rain event – and in spring, that means after every multi-inch storm – walk the gate line and check four things:
- Look for a gap between the soil and the bottom of the gate post footing, or visible cracking in the soil around the post that wasn’t there before.
- Measure the gap at the latch end with the gate closed; if it’s shifted more than 1/4 inch since your last check, the storm moved something.
- Check that the gate opens and closes without a new scraping sound, especially near the ground.
- Look for water pooling near the post footing. If water stands within two feet of a post after rain, you need a drainage fix or the heave cycle will continue.
Capacitor load is the pre-August check. Gate capacitors are the components that give the motor its starting torque. Heat shortens their lifespan, and the punishing Garland summer – with 100-plus degree days – pushes capacitors toward failure. Before the worst heat arrives in early August, check that your gate opens at the same speed it did in spring. A slower or labored start is often a capacitor losing capacitance. While you can’t safely measure a capacitor’s microfarad rating without opening the operator and discharging it, you can note any change in starting behavior. If the gate hesitates before moving, or the motor hums for half a second before engaging, schedule a service call before August. See Gate Repair Permits, Codes & Inspections in TX: What You Need to Know if your repair requires permitting. A capacitor replacement costs between $60 and $150; waiting until it fails on a hundred-degree day turns a quick fix into a full operator replacement.
We’ve handled enough Garland gate repairs after July heat waves to see the pattern clearly. Capacitors fail in clusters. August is the busiest month for capacitor-related no-starts. Checking in late July, before the worst of the heat, means you’re not one of the clustered calls waiting for a slot.
Which Maintenance Tasks Void Operator Warranties
Not every DIY maintenance task is safe for your warranty. Operator manufacturers are specific about what they’ll cover, and three common homeowner mistakes can void coverage entirely. The biggest one is using the wrong lubricant. Most residential gate operators with a chain or a threaded spindle need a lithium-based grease. If you use WD-40 or a penetrating oil on moving parts inside the operator, you’ve just stripped the protective coating and given the manufacturer grounds to deny a later warranty claim. Read the manual before you lubricate anything.
The second warranty killer is adjusting the force setting too high. All residential operators have an obstruction detection system that reverses the gate when it encounters resistance. Homeowners sometimes crank the force dial up when the gate starts struggling, which overrides the safety function and burns out the motor. On a Linear operator, that force dial is typically on the control board; turning it past the manual’s recommended range voids the warranty on the motor and gearbox. If your gate is struggling, the force setting isn’t the problem – friction is. Fix the friction, don’t mask it with force.
The third is modifying the operator, which seems obvious but catches more people than you’d think. Adding an aftermarket receiver, splicing into the wiring for a keypad, or drilling into the housing to mount something voids coverage on many brands, including LiftMaster. The warranty covers the unit as shipped. Homebrew modifications, even well-intentioned ones, give the manufacturer a clean out. When in doubt, Vance Gate Repair Garland home works on nine major automation brands and can install add-ons with the manufacturer’s approved wiring methods.
Building a Paper or Photo Log a Future Technician Can Actually Use
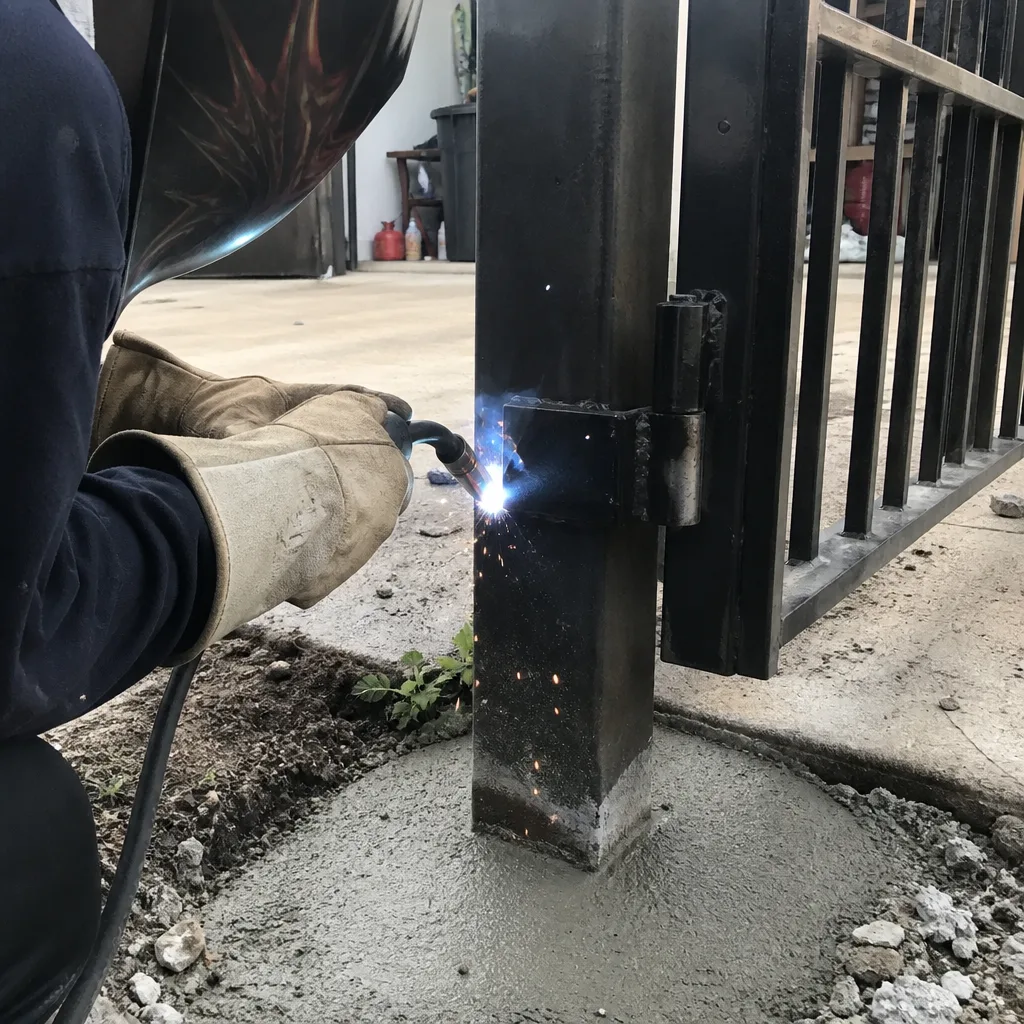
A maintenance log only helps if the next person who reads it can understand what you found. The format matters less than the consistency and the specificity. We recommend a simple structure that captures three things on every entry: the date, the readings, and the photos. Here’s a sample format that a technician can act on immediately:
Sample Gate Maintenance Log Entry
Date: March 15
Gate: East drive swing gate, LiftMaster operator, solar-assisted
Hinge-pin play: 1/8 inch at latch end, no change from September
Gate sag: 3/8 inch difference between hinge end and latch end, up 1/8 from September
Limit-switch positions: open at 92 degrees, close at 0 degrees, both unchanged, photo attached
Battery voltage: 13.6 volts at 2:00 PM, sunny
Force setting: 4, unchanged
Photo-eye height: 24 inches, visually aligned, tested with a box passing through
Notes: Light scraping sound on opening, cleaned hinge area, applied lithium grease to hinge pins, photo attached
That entry tells a technician in thirty seconds what they need to know: the gate is starting to sag slightly, the operator is healthy, and there’s a new scraping sound. The photos provide visual context. Store the log digitally with photos embedded, or keep a physical notebook in the garage. Either works.
The photo record matters more than most homeowners realize. A photo of the limit-switch position, taken from the same angle every time, is a baseline you can’t fudge. A photo of the operator’s LED status lights shows whether a sensor was behaving differently in March than it is now. We leave a documented photo record on every visit as standard practice, because we’ve seen too many homeowners with a notebook full of vague notation and no visual reference. The combination of numbers and images is what makes a log useful to the next set of eyes – whether that’s you in six months or a technician on a service call.
Common Mistakes to Avoid
- Recording tasks instead of readings. “Lubricated hinges” is less useful than “hinge play 1/8 inch, lubricated.” The reading lets you see change over time; the task just tells you what you did.
- Using the wrong lubricant on the operator. Penetrating oils and household sprays degrade internal components. Use lithium grease for chains and threaded spindles, and silicone spray for plastic gears, as specified in your operator’s manual.
- Ignoring the gate in winter. Garland’s winters are mild, but the freeze-thaw cycle still works on gate posts. A February check catches the early signs of post movement before spring rain accelerates it.
- Setting force too high to compensate for a sagging gate. This is the fastest path to a burnt motor. Fix the sag, then reset the force to the manufacturer’s recommended range.
- Not testing obstruction detection after maintenance. After any adjustment, test the auto-reverse function. Place a 2×4 or similar object in the gate’s path and see if it reverses. If it doesn’t, the force or the photo-eye needs attention before the gate becomes a safety hazard. A gate that doesn’t reverse is dangerous to children and pets, and in rare cases, to people.
- Checking voltage without a full sun reference. A solar battery reading taken at 9 AM on a cloudy day will look low even on a healthy system. Always measure mid-afternoon on a clear day, and note the conditions in your log.
- Opting for a brand-specific replacement when a universal part would work. Some homeowners replace a whole operator when only a control board or a sensor has failed. Knowing your exact operator model and the available board revisions saves hundreds; a technician who services the brand can tell you if the part is still manufactured or if a universal board from FAAC or BFT will do the job.
When to Call a Professional
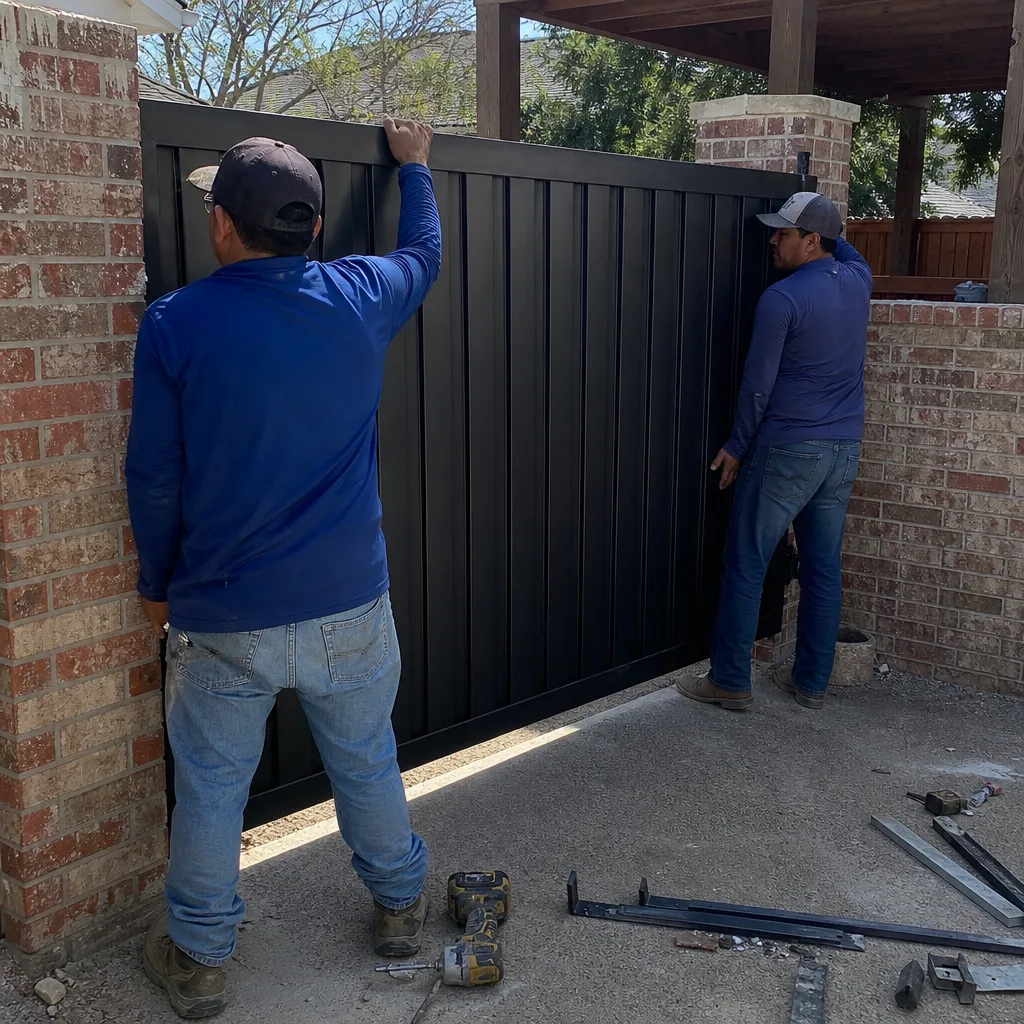
Some maintenance findings are clear signals to stop and call someone who does this daily. If your gate has sagged more than 1/2 inch and the post footing shows cracking, the repair involves excavation and structural work; that’s not a shims job. If your operator repeatedly trips its breaker or the motor hums without moving, the capacitor or the gearbox is in failure and continuing to run the gate will only increase the repair bill. If you notice the gate reversing for no reason, or failing to reverse when it should, the obstruction detection system is malfunctioning and the gate is unsafe. These are the moments to call a professional. Gate installation in Garland and repair work sometimes overlap, and a reputable shop will tell you honestly which one you need. Vance Gate Repair Garland offers free estimates in Garland – call (469) 273-6254, and a live person will answer at any hour.
Frequently Asked Questions
Twice a year is the standard for a residential gate in Garland: once in late winter or early spring before the rainy season, and once in mid-fall after summer heat but before any freeze risk. Add a quick visual check after any storm with more than two inches of rain, because Garland’s clay soil shifts under heavy moisture and can tilt a gate post before the next scheduled maintenance pass.
Minor gate repairs in Garland, like a hinge pin replacement or photo-eye realignment, typically run between $80 and $250 depending on the gate’s weight and the part. A spring or a chain replacement runs roughly $150 to $350. Major work, including a post reset or operator replacement, can range from $800 to $2,500 or more. The written price you get before work starts should itemize the part numbers, and you should not accept a verbal estimate as final. Call Vance Gate Repair Garland at (469) 273-6254 for a written, itemized quote – estimates are free.
Sometimes yes. If the sag is under 1/2 inch and the post is still plumb with no cracking, a hinge replacement or a hinge shim can correct the alignment. If the sag is over 1/2 inch or the post has shifted off plumb, shimming masks the problem and the gate will continue to wear unevenly. We measure the post and the sag before recommending anything, and the written quote tells you exactly which fix applies.
First, disengage the operator, which usually means pulling the release handle on the operator arm. Then measure the sag at the latch end with the gate closed, and compare it to your previous reading. If it has moved more than 1/4 inch, photograph the ground around the post footing and call a professional. Don’t run the operator on a leaning gate, because the added friction damages the motor and gearbox. In Garland, storm-related post movement is common enough that we recommend checking after every major rain event.
Yes. A dirty solar panel loses between 20 and 30 percent of its charging output, which means the battery runs down faster and the operator may not have enough power for multiple cycles on cloudy days. Wipe the panel with a damp cloth each spring, and check the mounting angle hasn’t shifted. If your battery voltage is trending lower than 13.2 volts during charging, the panel is either dirty, shaded by new growth, or undersized for the operator’s duty cycle.
If the gate pushes through an obstacle instead of reversing, or if it continues pressing after fully closing, the force is set too high. The manual for your operator lists the recommended range, and many LiftMaster and Linear units display the setting numerically on the control board. Setting force above the recommended range voids the warranty and puts everyone who uses the gate at risk, so reset it to spec and address the underlying friction instead. If you’re unsure, call (469) 273-6254 for a free estimate and Vance will check it on site.
The Bottom Line
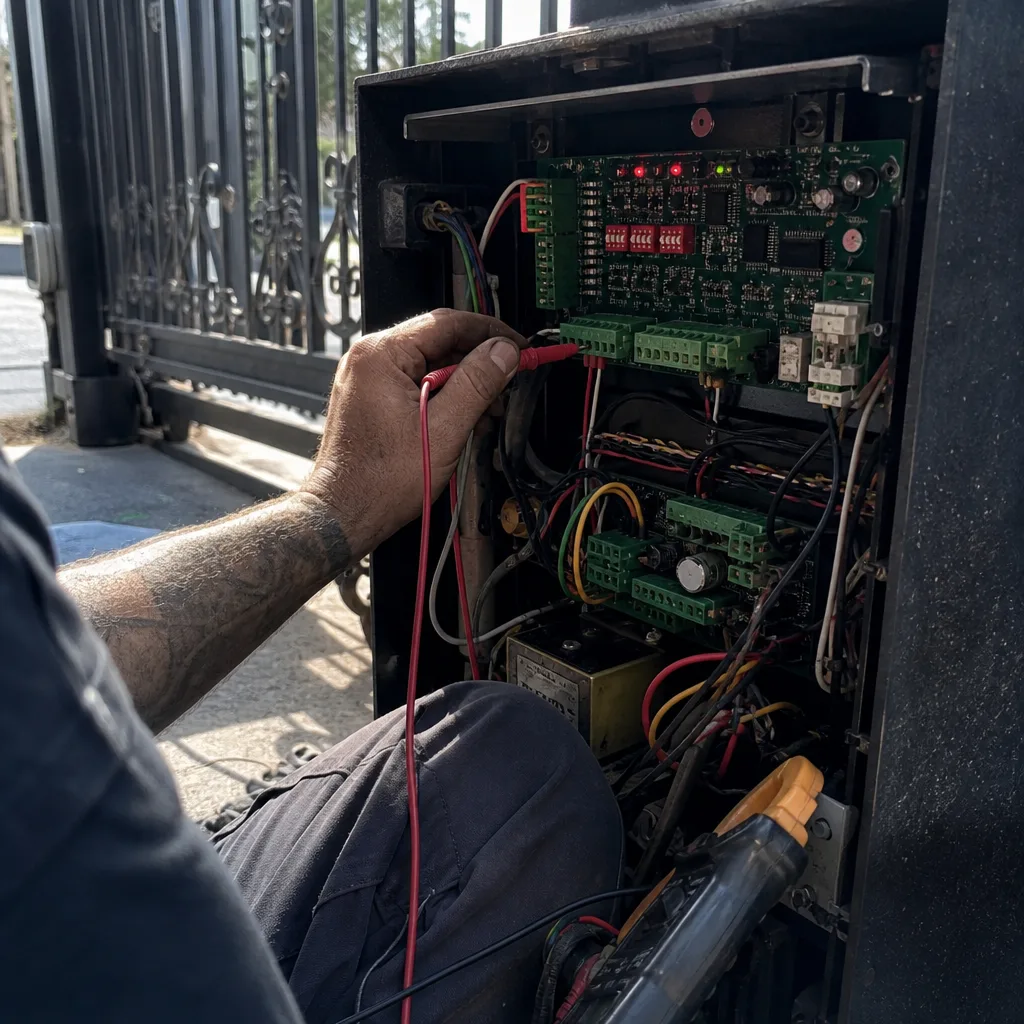
A maintenance checklist that doesn’t record numbers is just a to-do list with a confidence problem. For more guides & resources on keeping your gate in top condition, explore our blog. The gate components that fail most often in Garland – hinge pins, post footings, limit switches, batteries, and capacitors – all give measurable warning signs before they fail. Your job as the homeowner is to capture those numbers and compare them over time. A baseline pass establishes the values. Twice-yearly checks show you the drift. Post-storm inspections catch the soil movement that Garland’s clay makes too common. And a log with readings and photos means no future technician has to guess or re-diagnose what’s already been measured. That’s the difference between catching a $50 problem early and financing a $2,500 replacement later.
Written by Adrian Vance, Owner at Vance Gate Repair Garland, serving Garland since 2014.